Saved View
Creating saved views
Saved Views enables users to save the multiple models with a selected model view for viewing later based on the user preference. Now follow the below steps to create a saved view,
- After applying changes in Select view. Click on the Ellipse Icon from the saved views block and Select the Create option
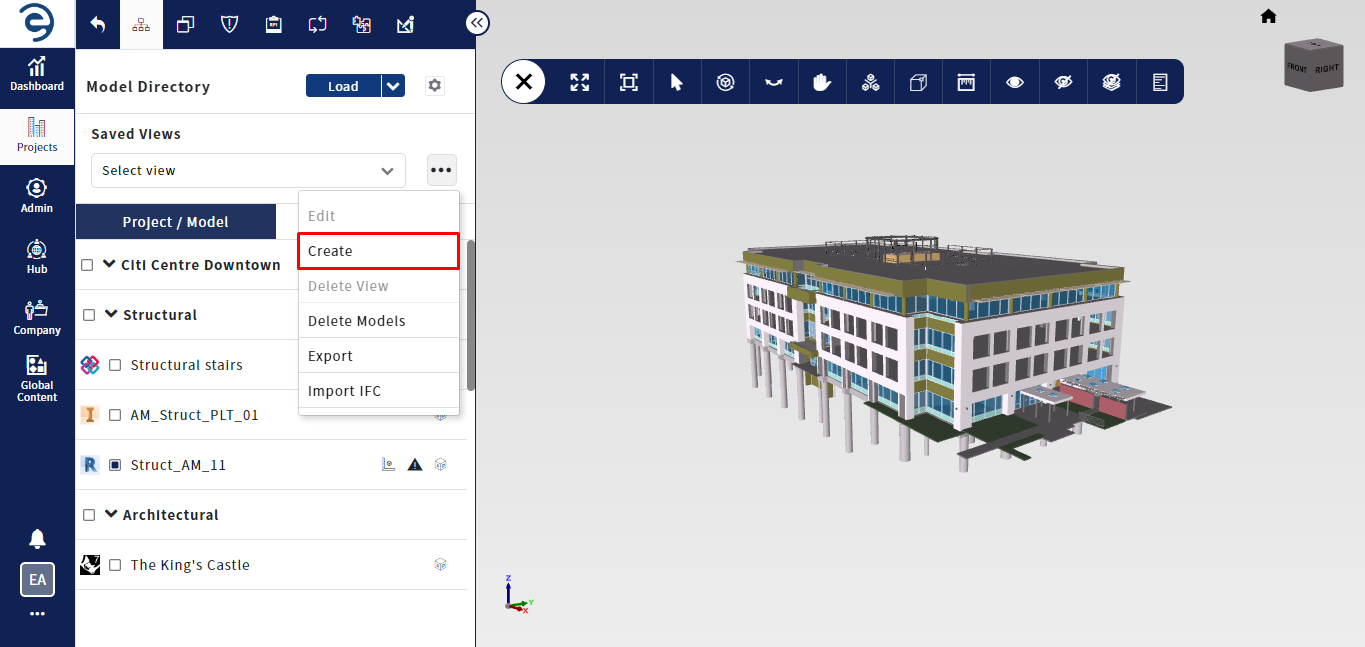
Creating Saved Views
- Select the desired models from the directory and enter name for the Saved View. Clicking on the Save Button to complete the process
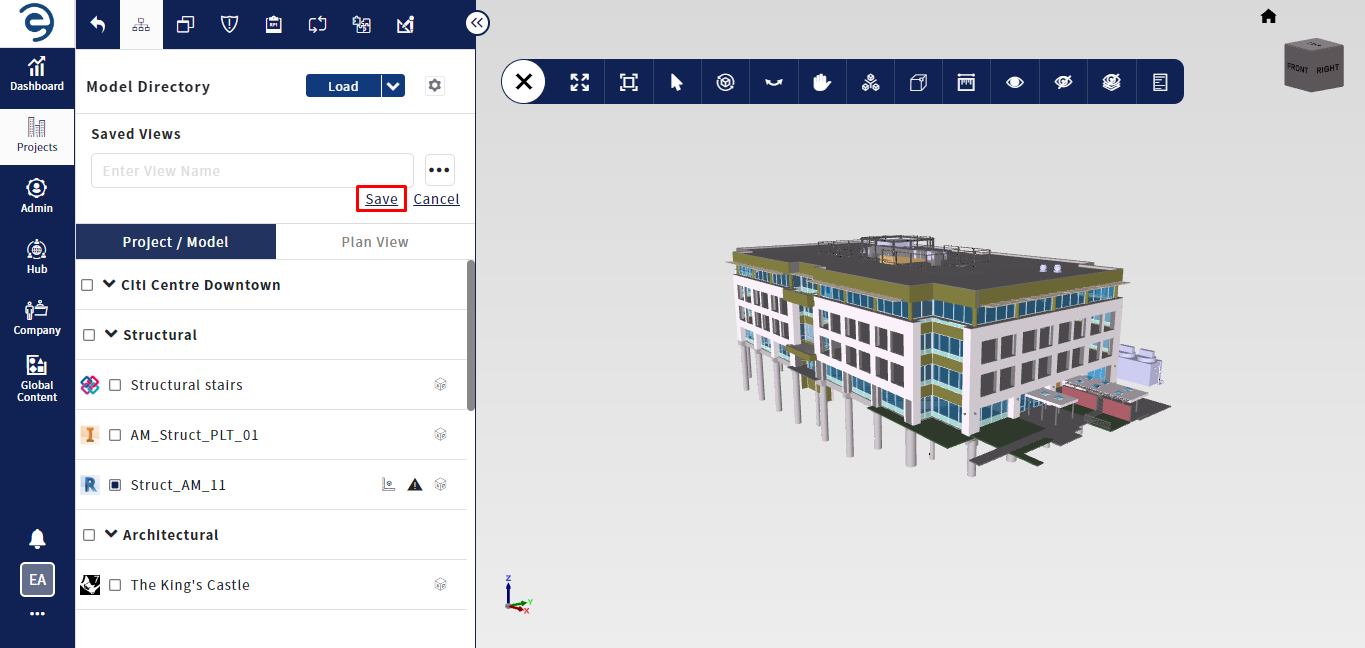
Creating Saved Views (Cont.)
- Click on the Drop down icon from the Saved View field to access all the created saved views. To load the saved view in viewer, select Saved View and click on Load button to complete the process
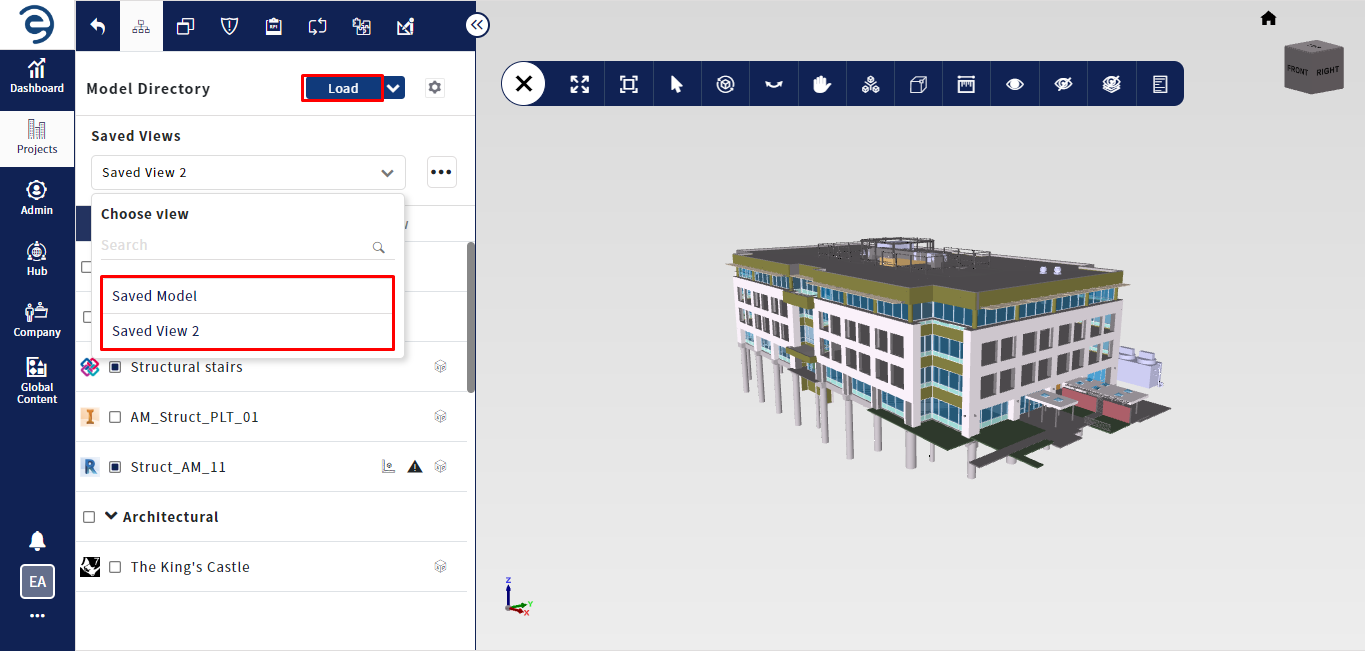
Creating Saved Views (Cont.)
- To edit a saved view, click the Ellipse button and select the Edit option. Here, users can update saved view and click the Update button once the changes is updated
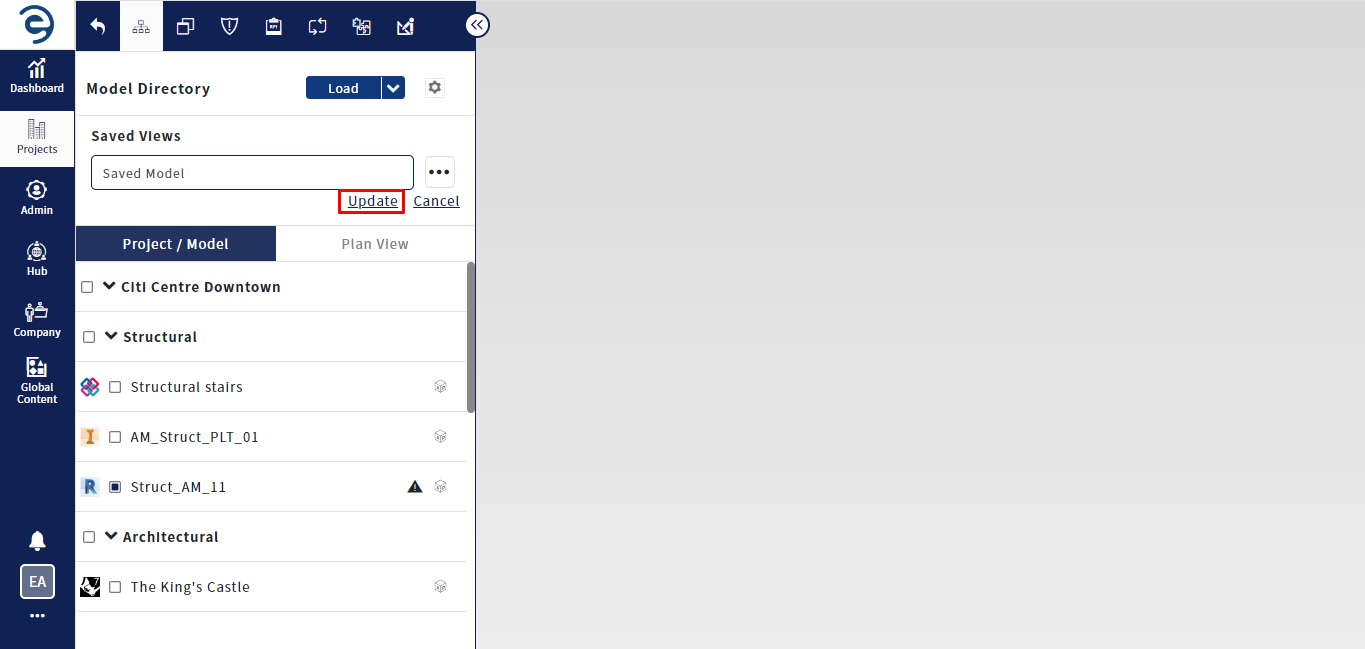
Editing Saved Views (Cont.)
- To delete the saved view, select Saved View from the drop down and click the Delete View option through the Ellipse icon
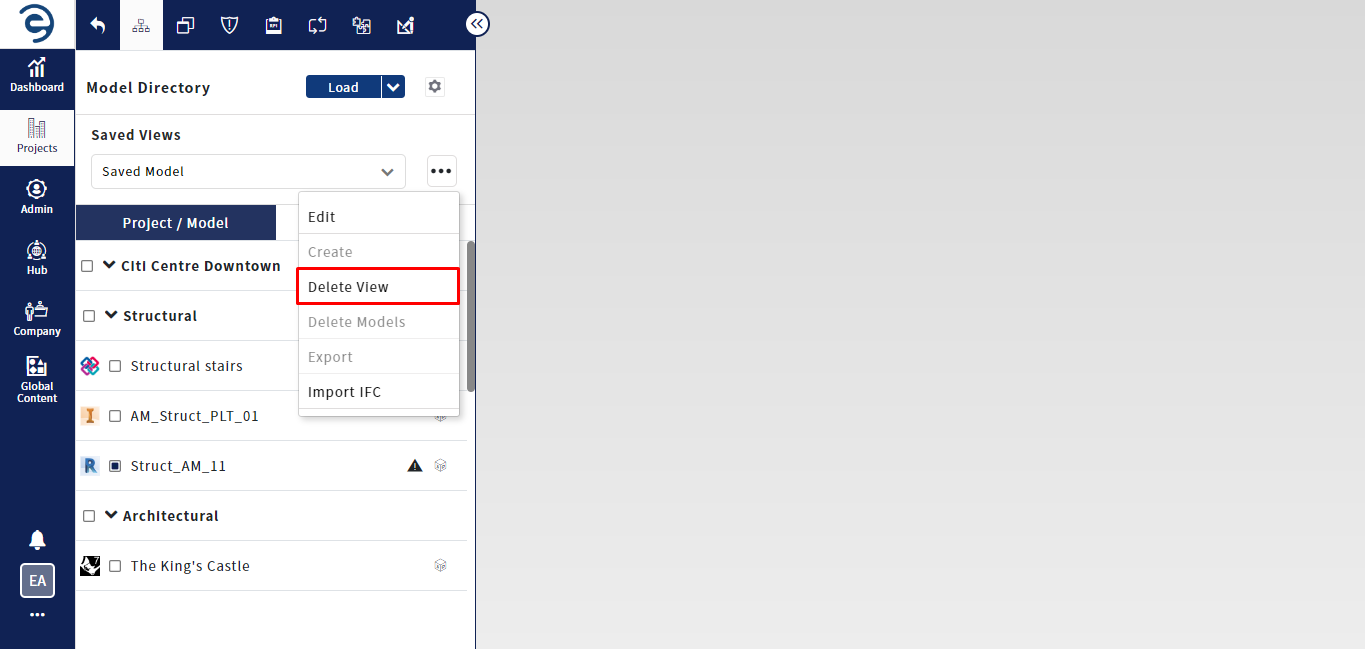
Deleting Saved Views (Cont.)
Notes:
- Deleting the saved view does not remove the associated models
Created with the Personal Edition of HelpNDoc: Maximize Your Productivity with HelpNDoc's CHM Help File Creation Features