Configure Project Settings in Project Template
Once the Project Template is successfully created, the user will be redirected to the overview page of that created template where the project settings can be configured. Based on this, the user can apply those project settings to the Project when applying the Project Template.
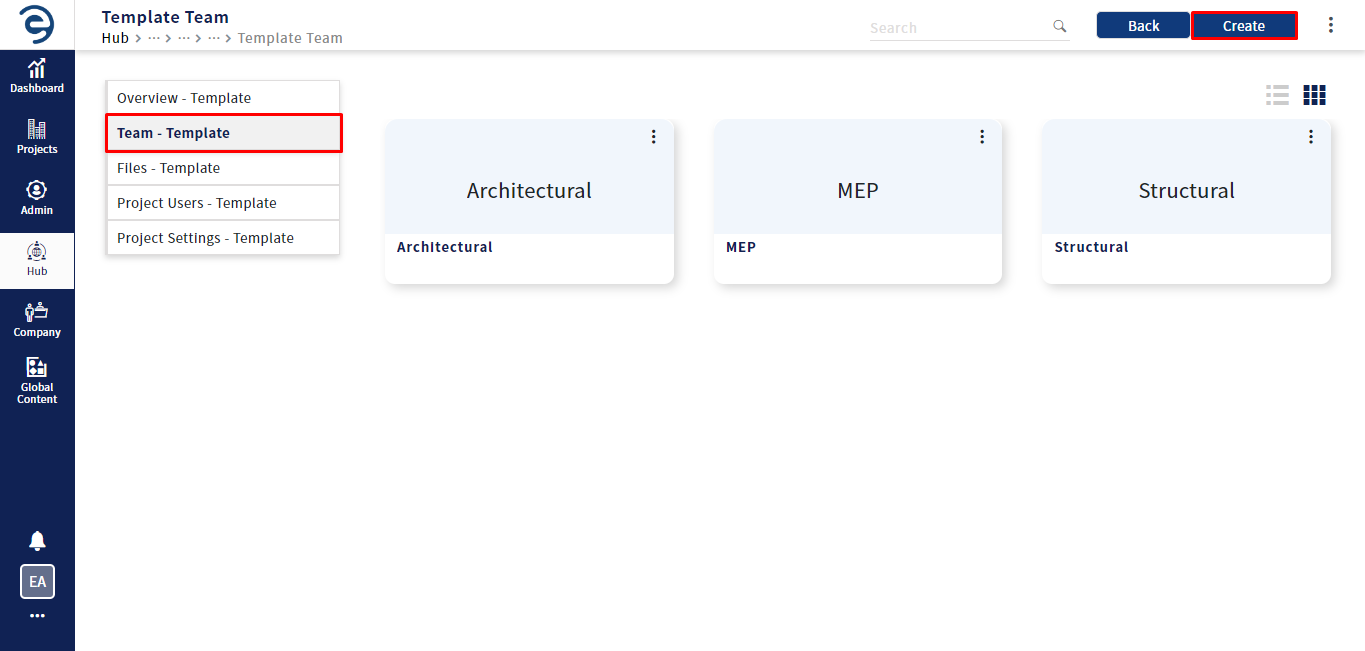
Team - Template Menu
Teams are a virtual partition of a project. Users can create and manage Teams at any hierarchical level under the project. Now follow the below steps to create a Team,
- Select Teams – Template menu in the inner side navigation and click on the Create button (on Top Right)
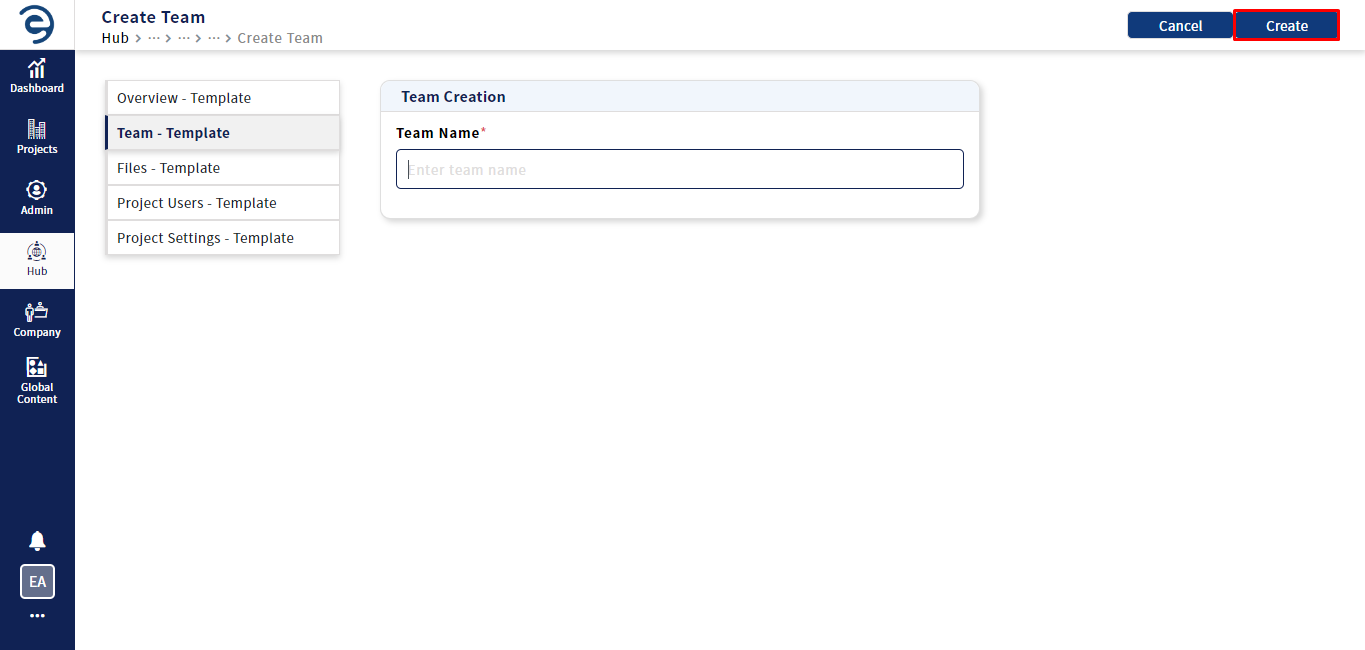
Team Configuration
- Enter the desired name for the Team creation and click on the Create button to complete the process
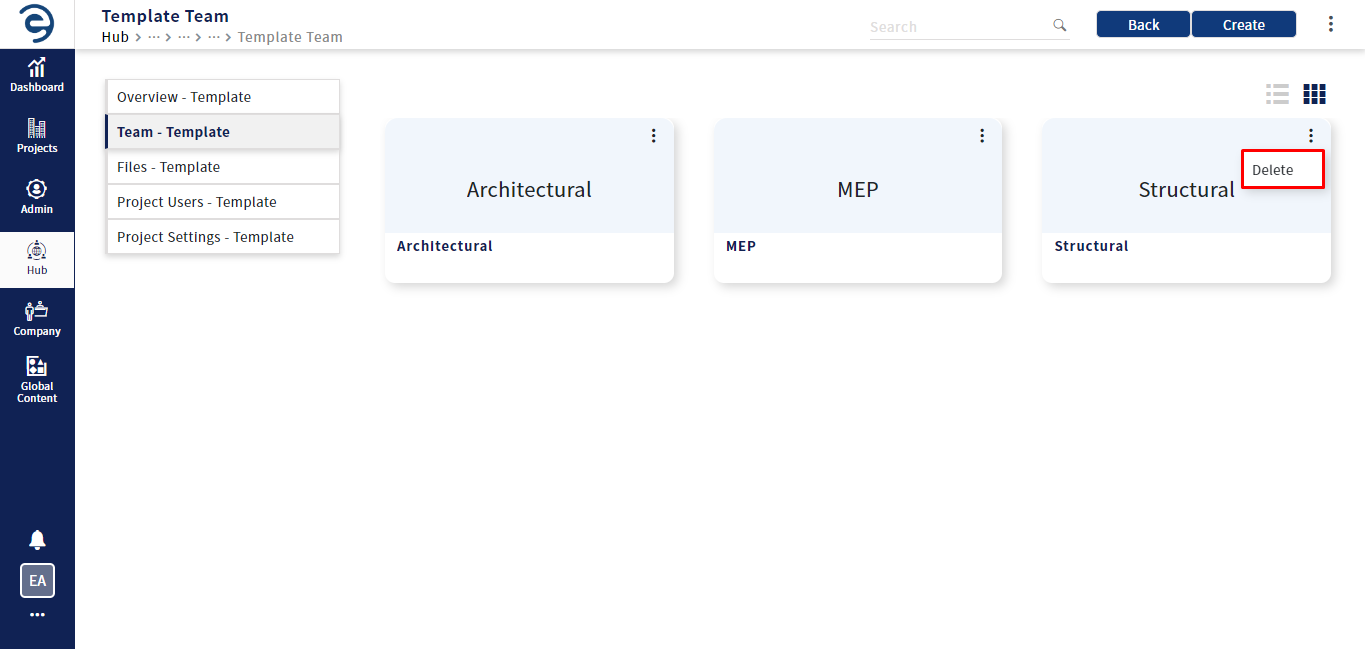
Team Configuration (Cont.)
- To delete the existing teams, click on the ellipsis icon at top right corner of the teams overview or at top right corner of specific team and select the Delete option to delete the team
Team Configuration (Cont.)
Files - Template Menu
Files is a common data environment for managing documents, Assets, sheets, and models related to the Project. With this Files – Template menu, user can provide the predetermined Document folders and files and import libraries and their associated assets from Global Content.
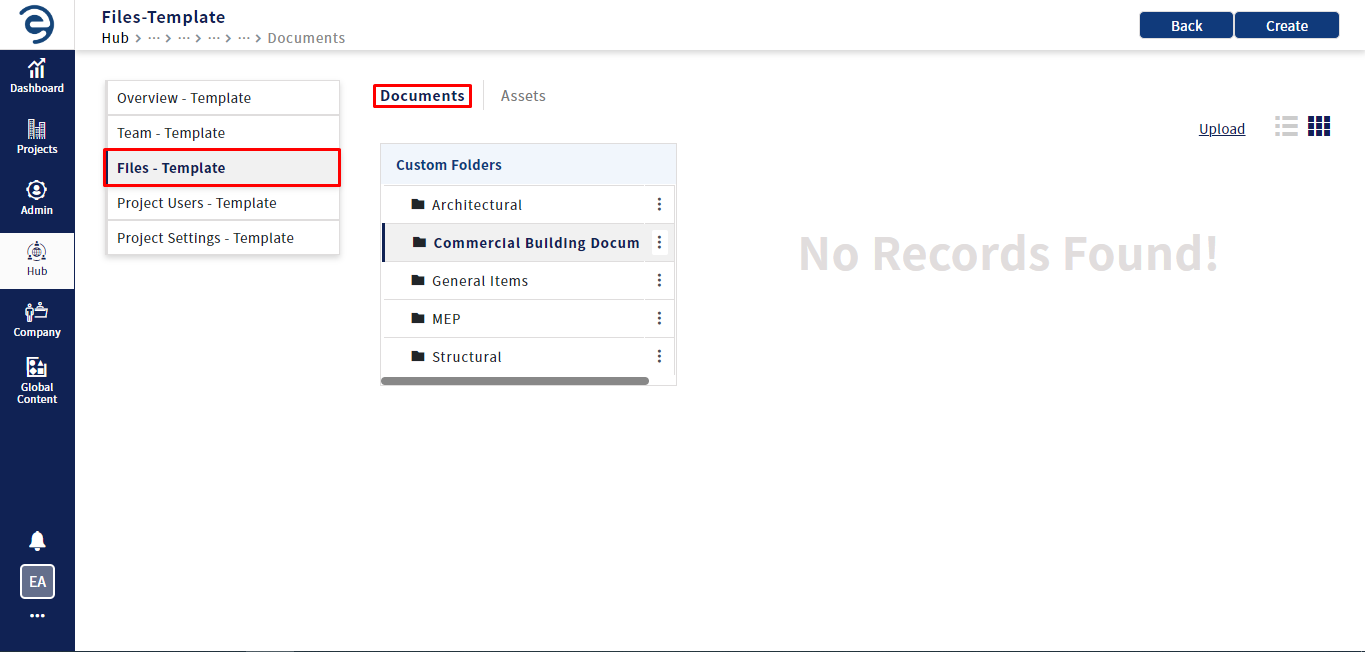
Document Folder Management
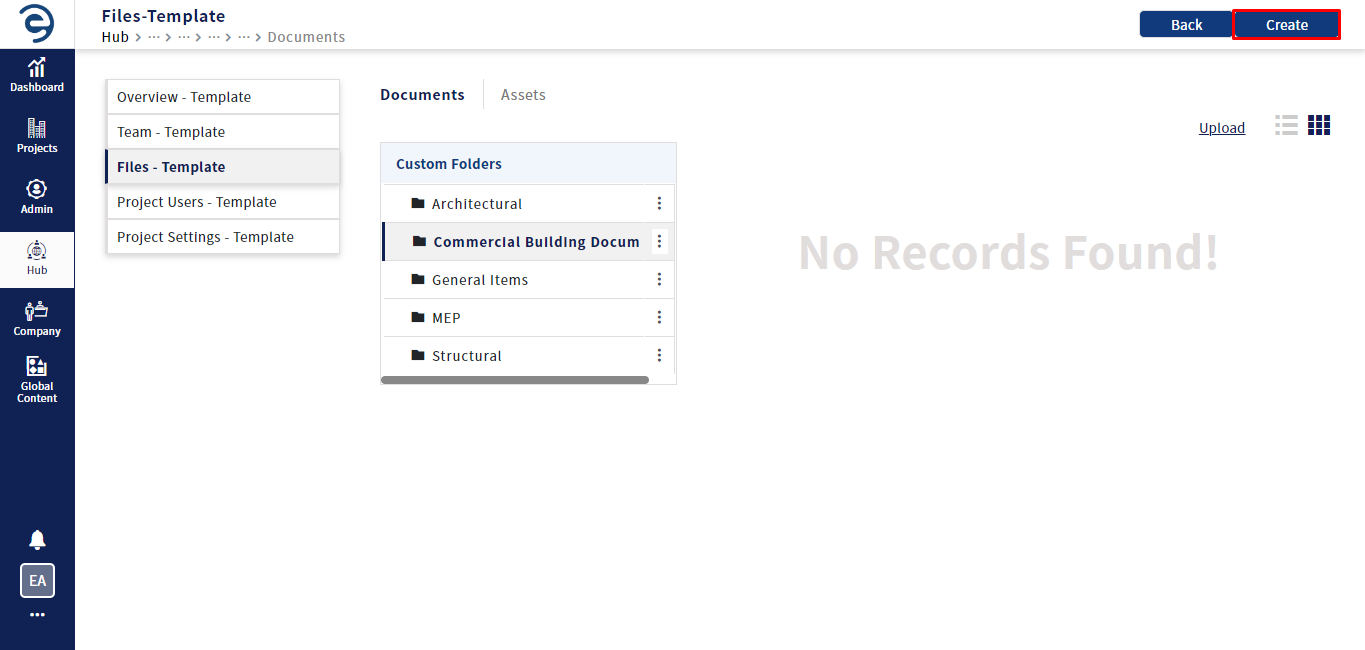
- Select Files – Template menu in the inner side navigation and choose the Documents Tab
Document folder management
- To create the document folder, click on the create button (on Top Right)
Document folder management (Cont.)
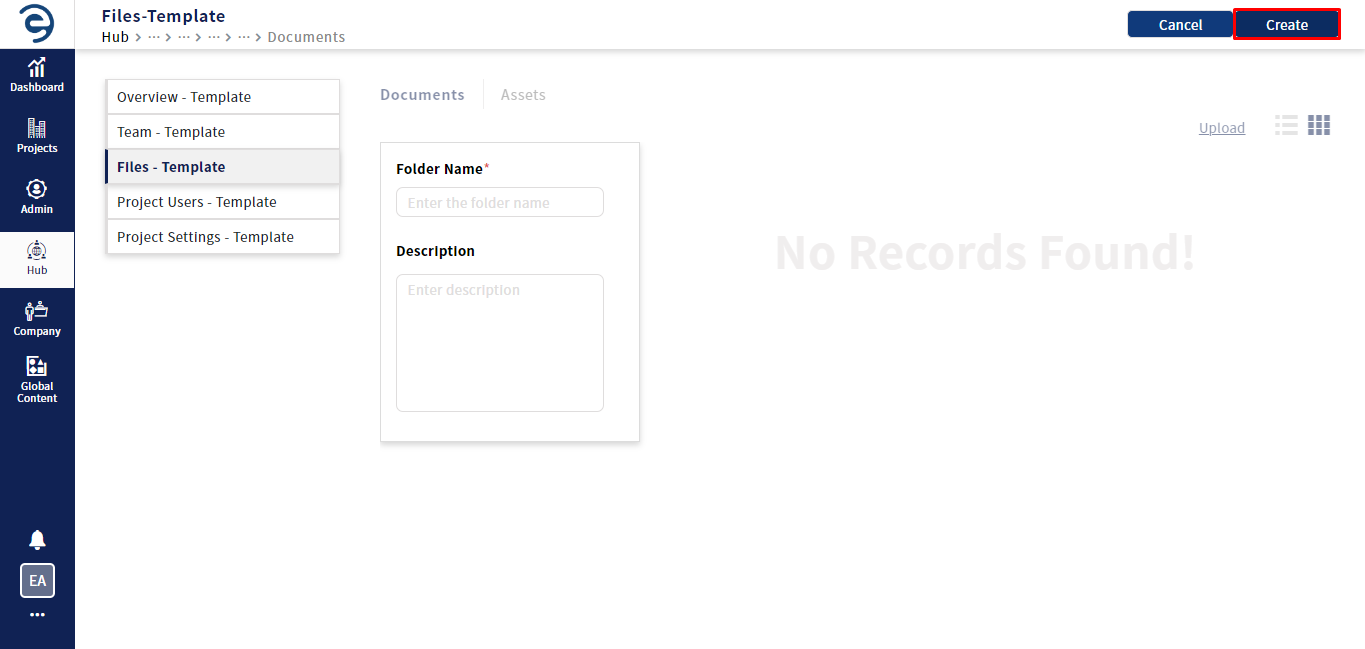
- Enter the folder name and click on Create button to complete the process
Document folder management (Cont.)
- To edit the document folder, click on the Ellipsis icon and choose the Detail option where the user can update it.

Document folder management (Cont.)
- Update with required team name and click on the Update button

Document folder management (Cont.)
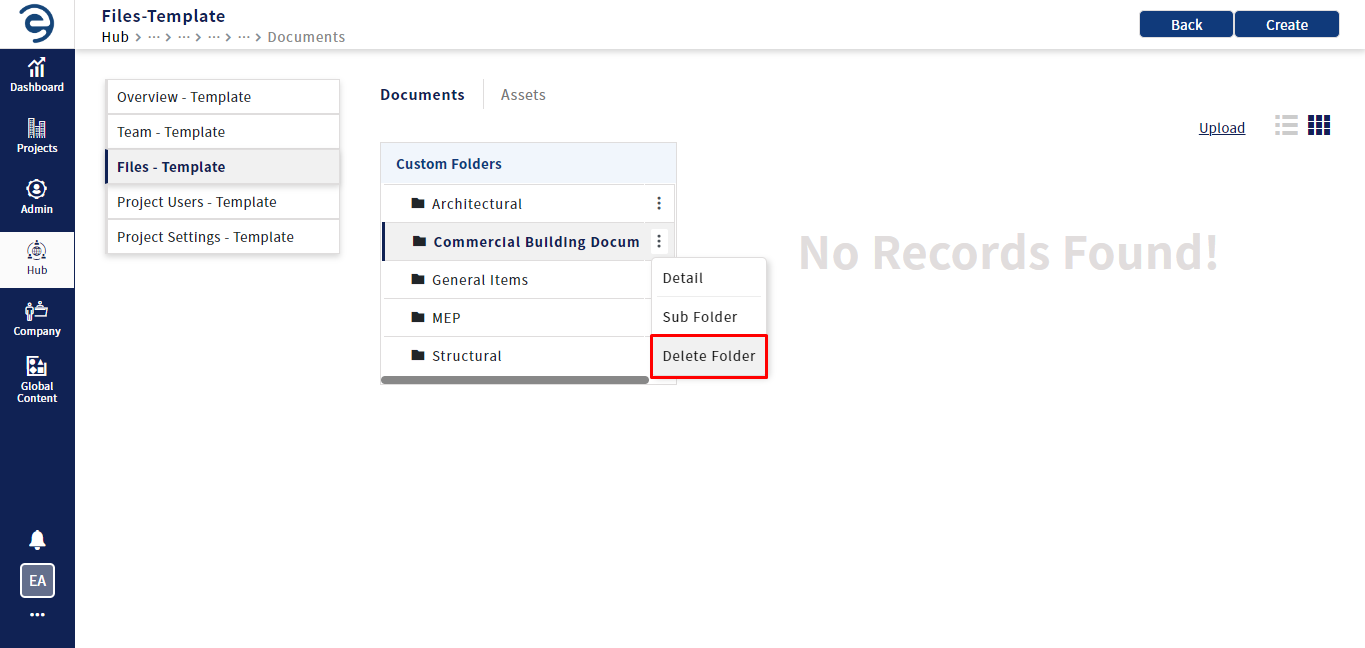
- To delete the created document folder, click on the Ellipsis icon and choose the Delete option to complete the process. If the folder is deleted and its associated subfolder and files will also be deleted
Document folder management (Cont.)
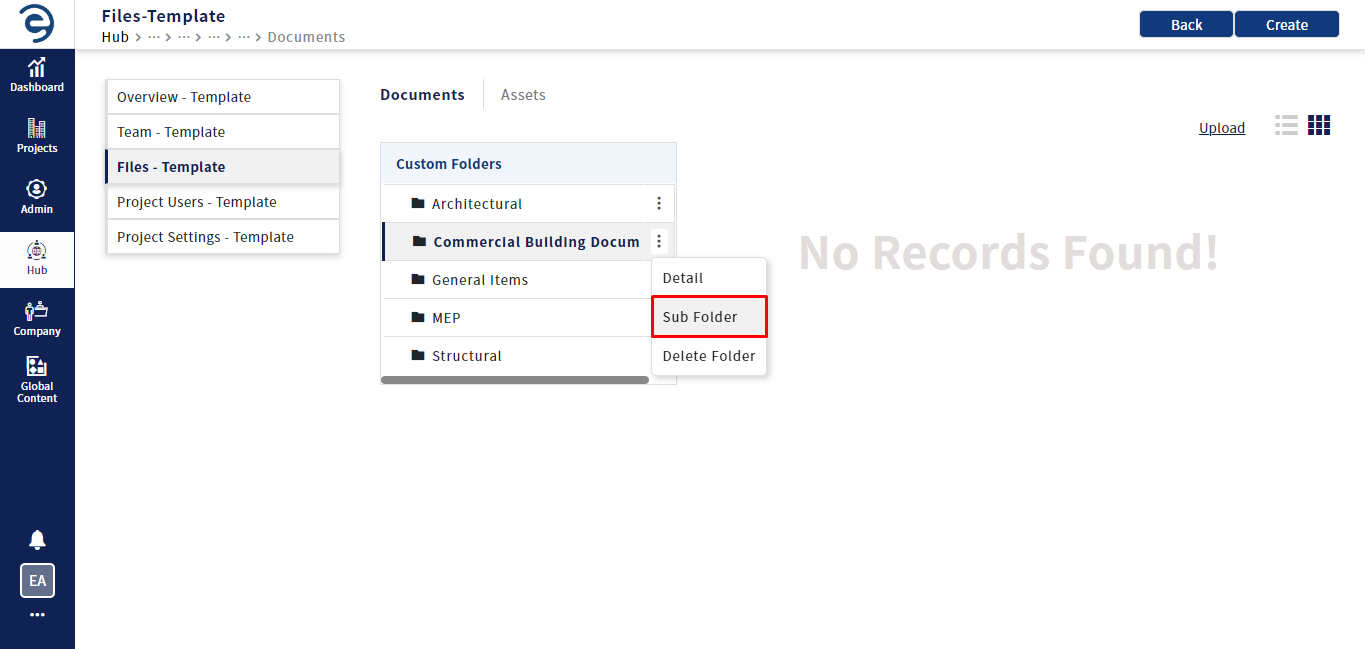
- To create the subfolder, click on the Ellipsis icon and choose the Subfolder option to complete the process which will follow the same procedure as per the folder creation
Document folder management (Cont.)
Documents Management
- Select Files – Template menu in the inner side navigation and choose the Documents Tab
Documents management
- To upload the file, click on the Upload button and select the Document type from the drop down
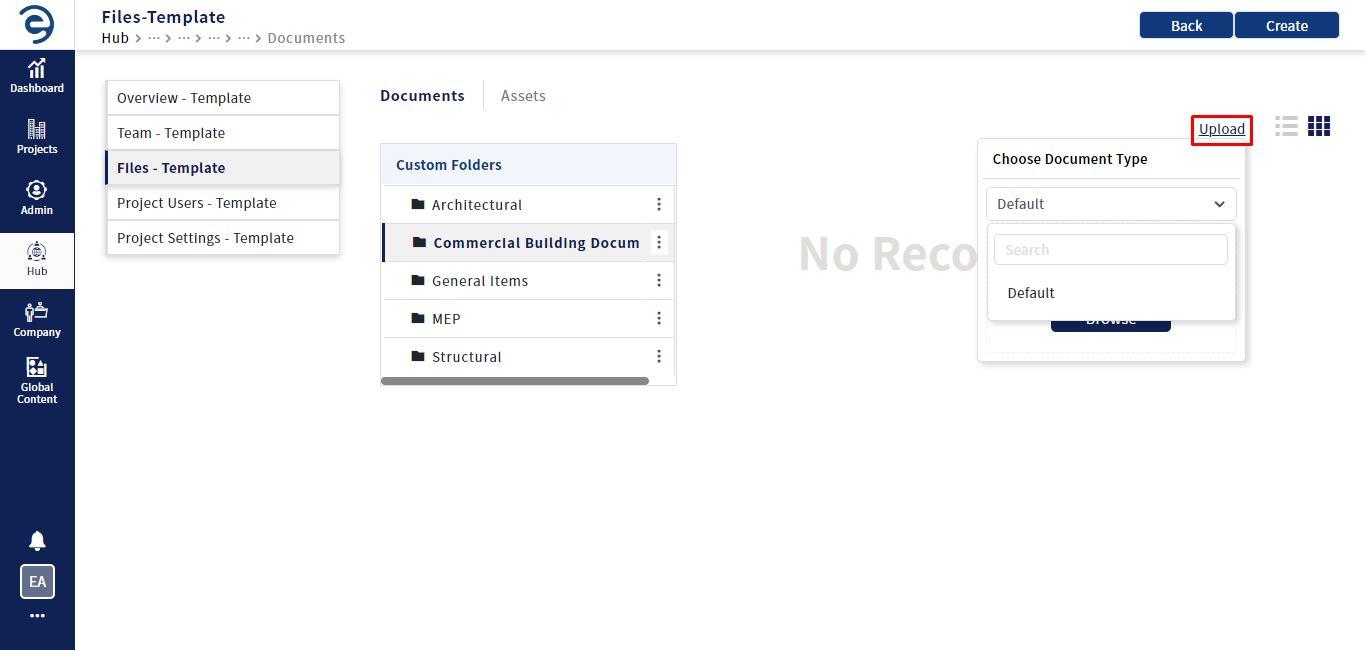
Documents management (Cont.)
- Drag & Drop or Browse the necessary files to import
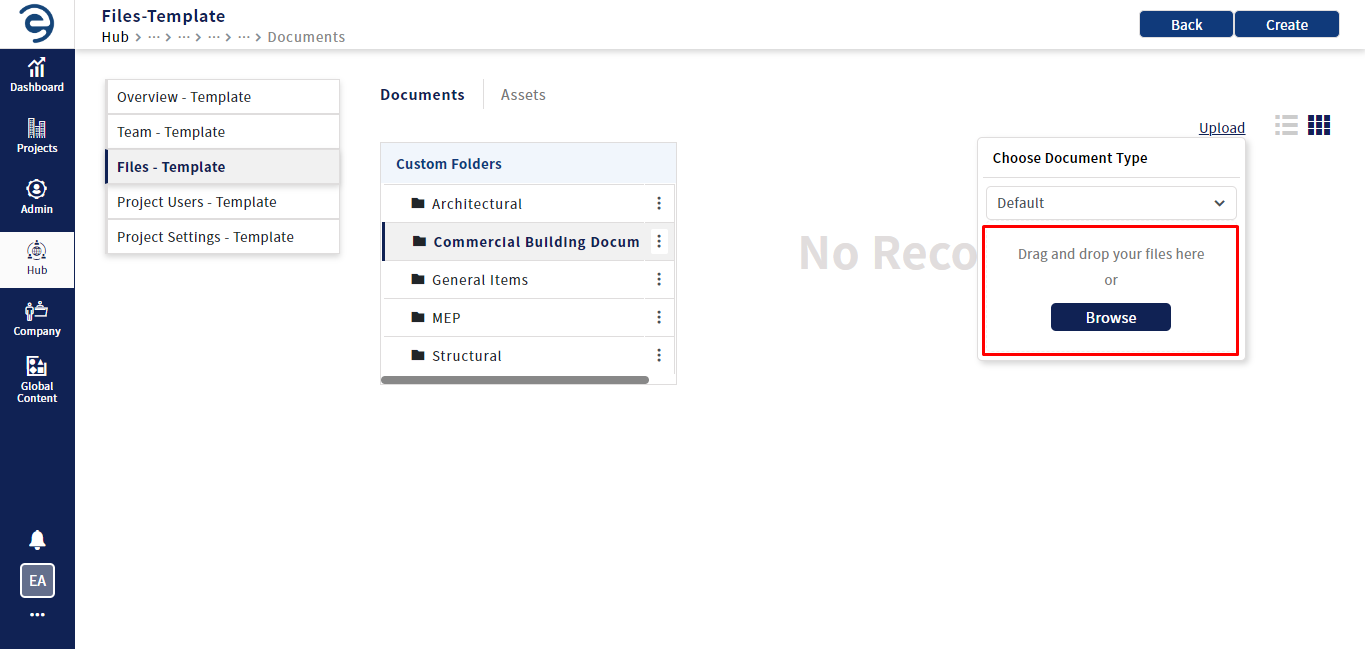
Documents management (Cont.)
- To copy the uploaded file to another folder, click on the Copy button and select the required files to copy

Documents management (Cont.)
- Click on copy button to choose the Designation folder and Document type and click on the Copy to complete the process

Documents management (Cont.)
- To delete the uploaded file, click on the Delete button and select the required file to delete
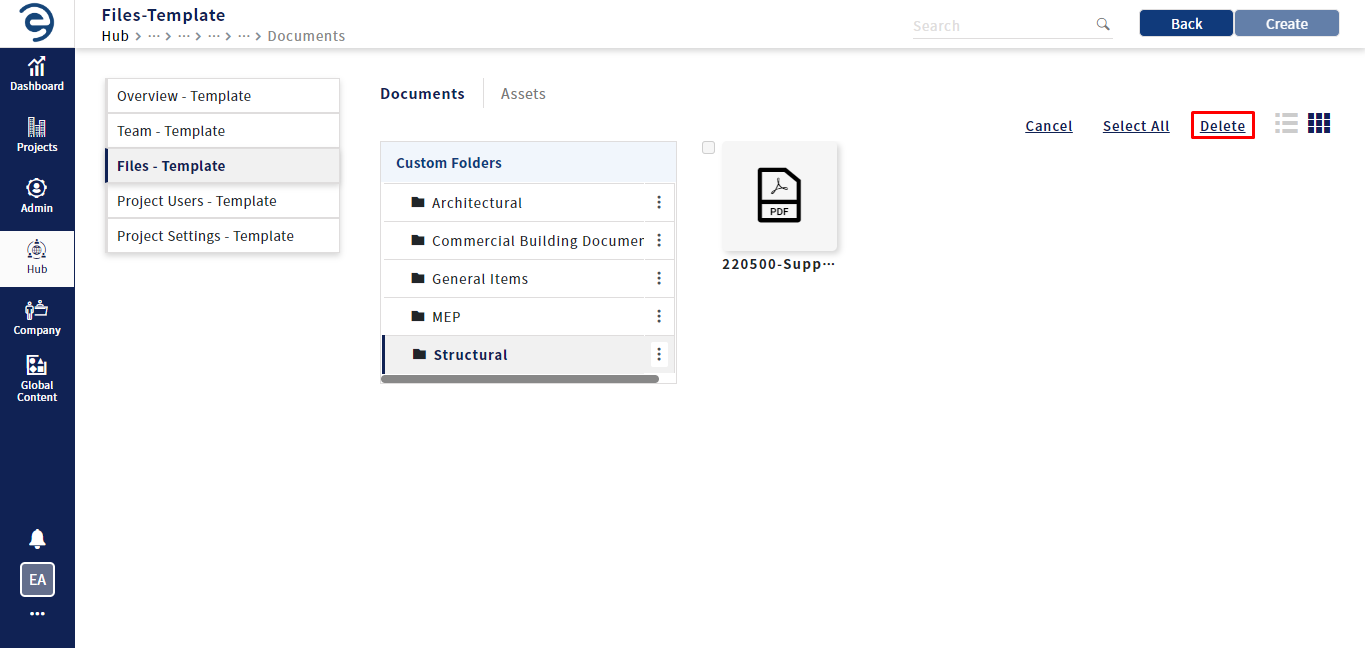
Documents management (Cont.)
Asset Management
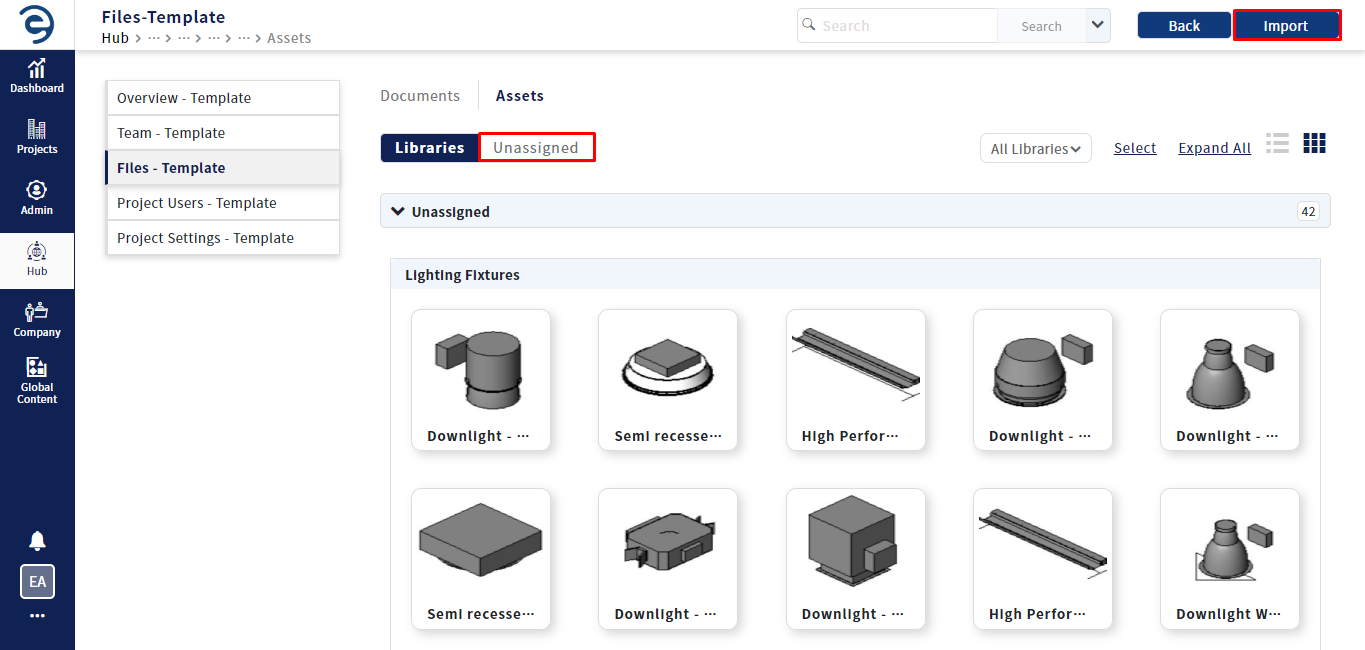
- Select Files – Template menu in the inner side navigation and choose the Assets Tab
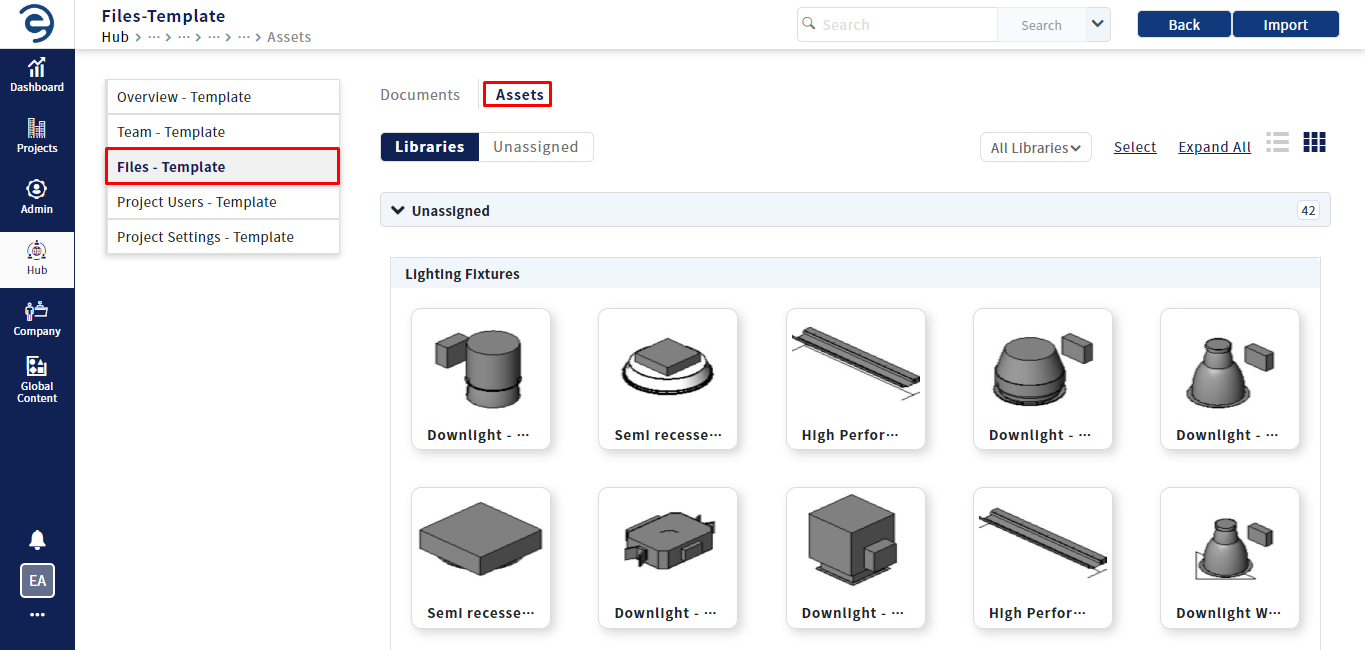
Asset management
- To import libraries from Global Content, click on the Import button (on Top Right) or directly select the Unassigned section
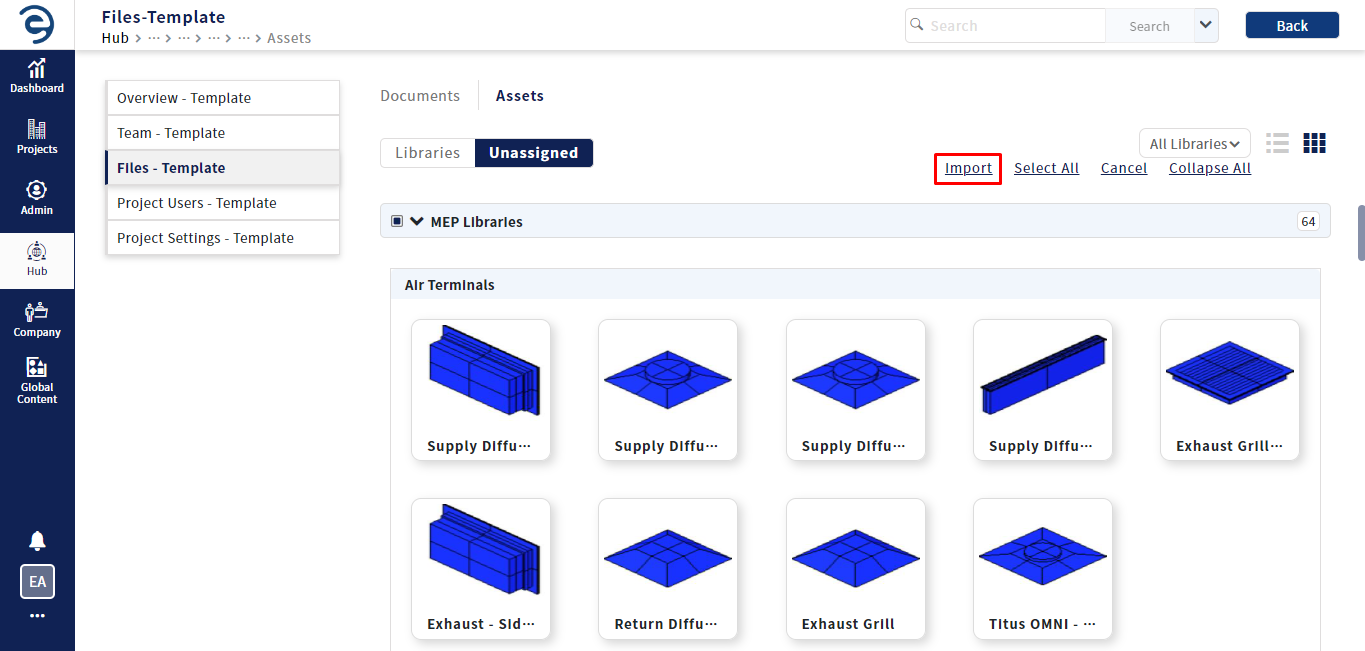
Asset management (Cont.)
- Select the Libraries to import and click on the Import option to complete the process
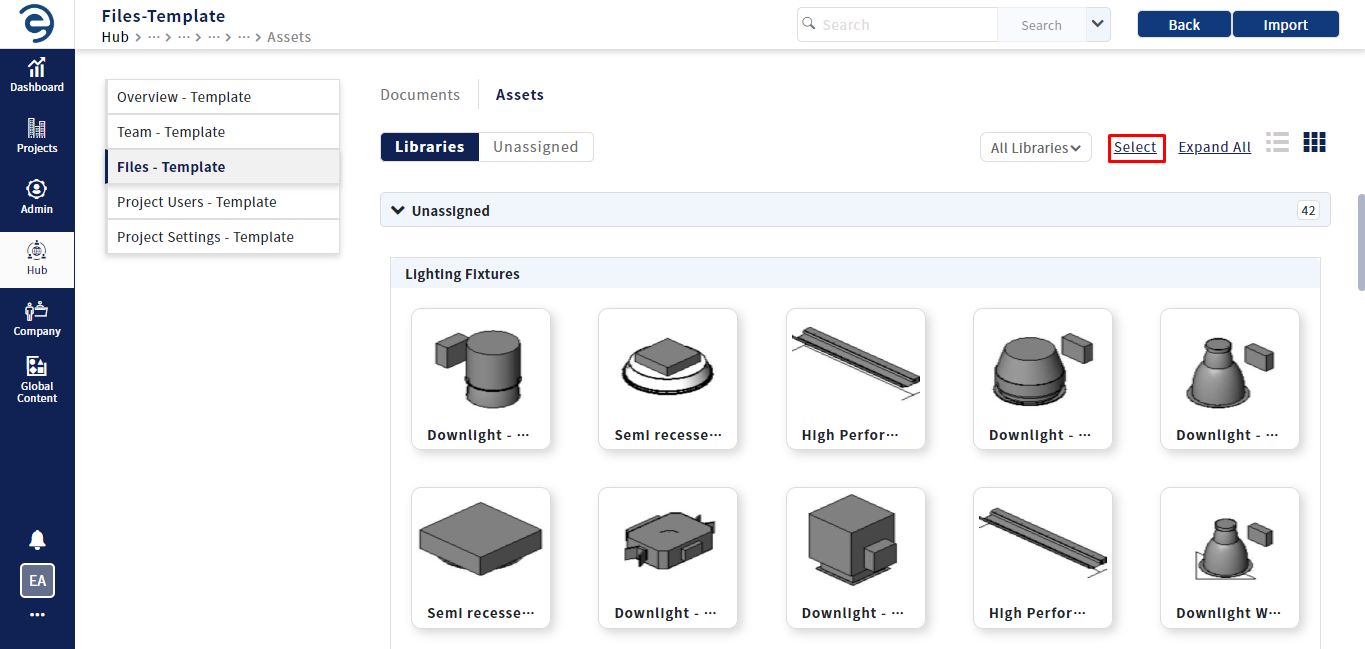
Asset management (Cont.)
- To remove the imported libraries, click on the Select option to select the libraries to remove
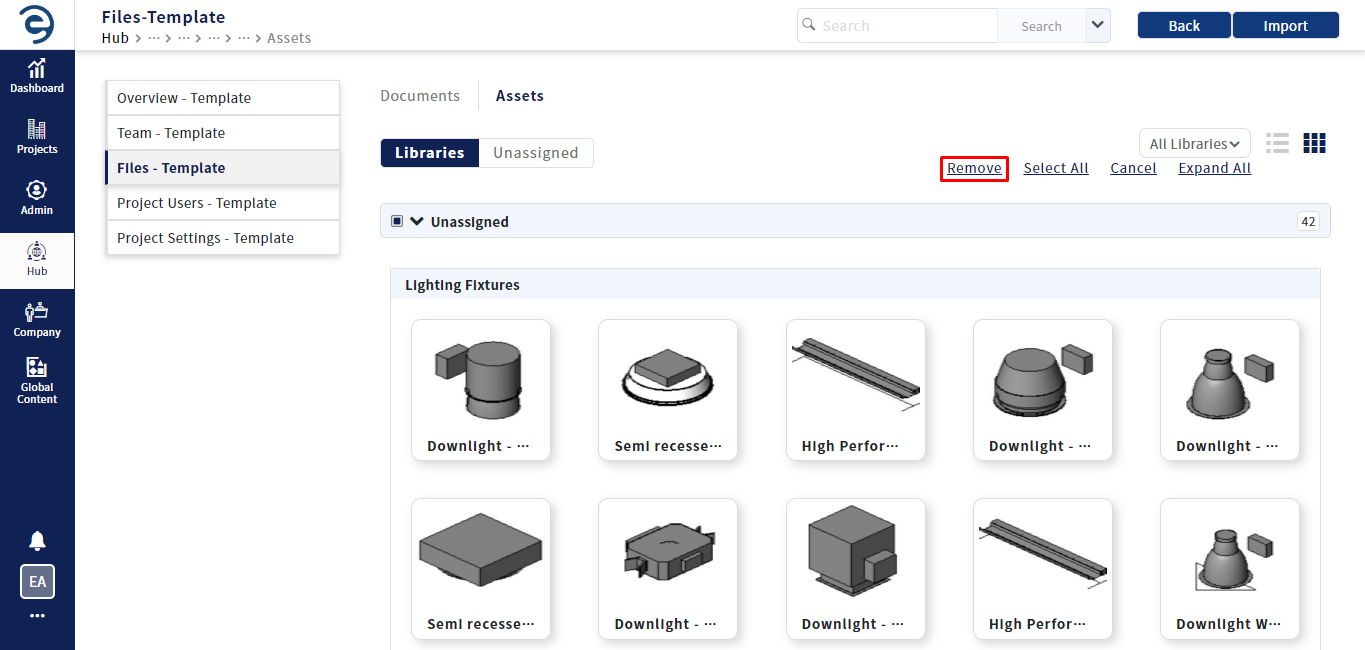
Asset management (Cont.)
- Select the Libraries and click on the Remove option to complete the process
Asset management (Cont.)
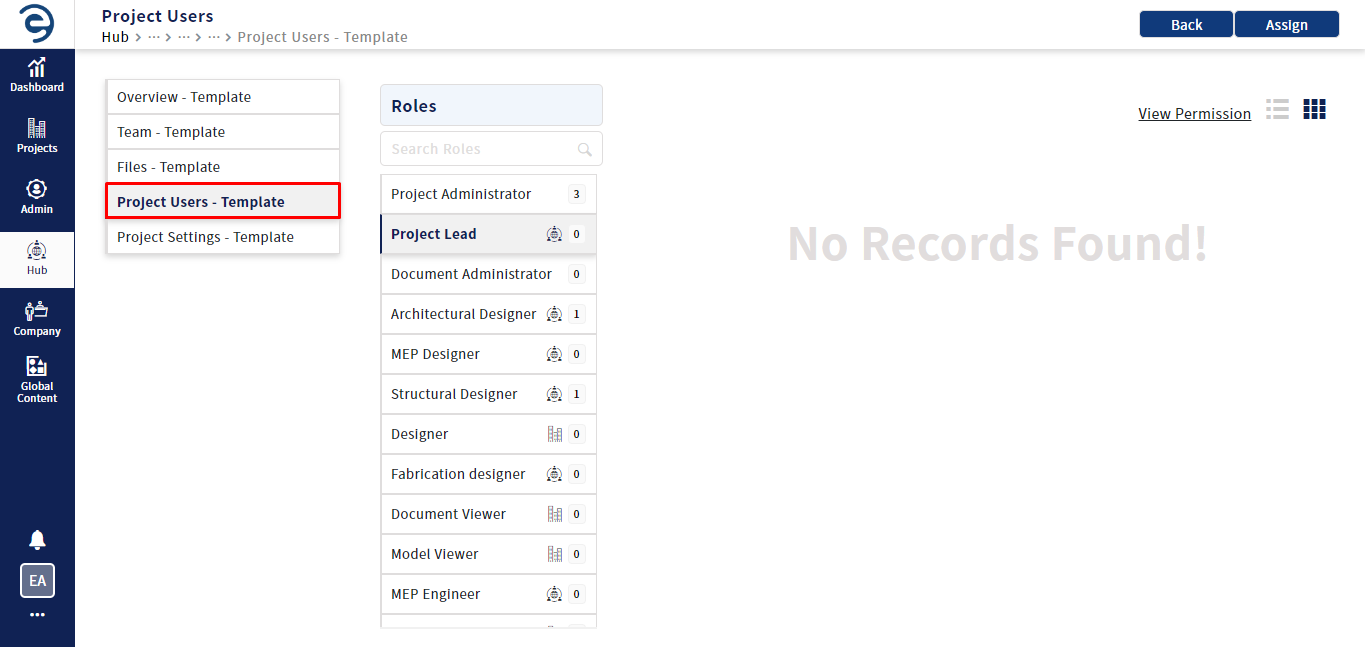
Project Users - Template Menu
Generally, Project users are nothing but hub Users. The admin can import those users into the project with a specific role to manage project activities as per preference. Now follow the below steps to assign users in the Project with a specific role.
- Select Project Users – Template menu in the inner side navigation and choose the desired Role which are already created from the respective hub and project
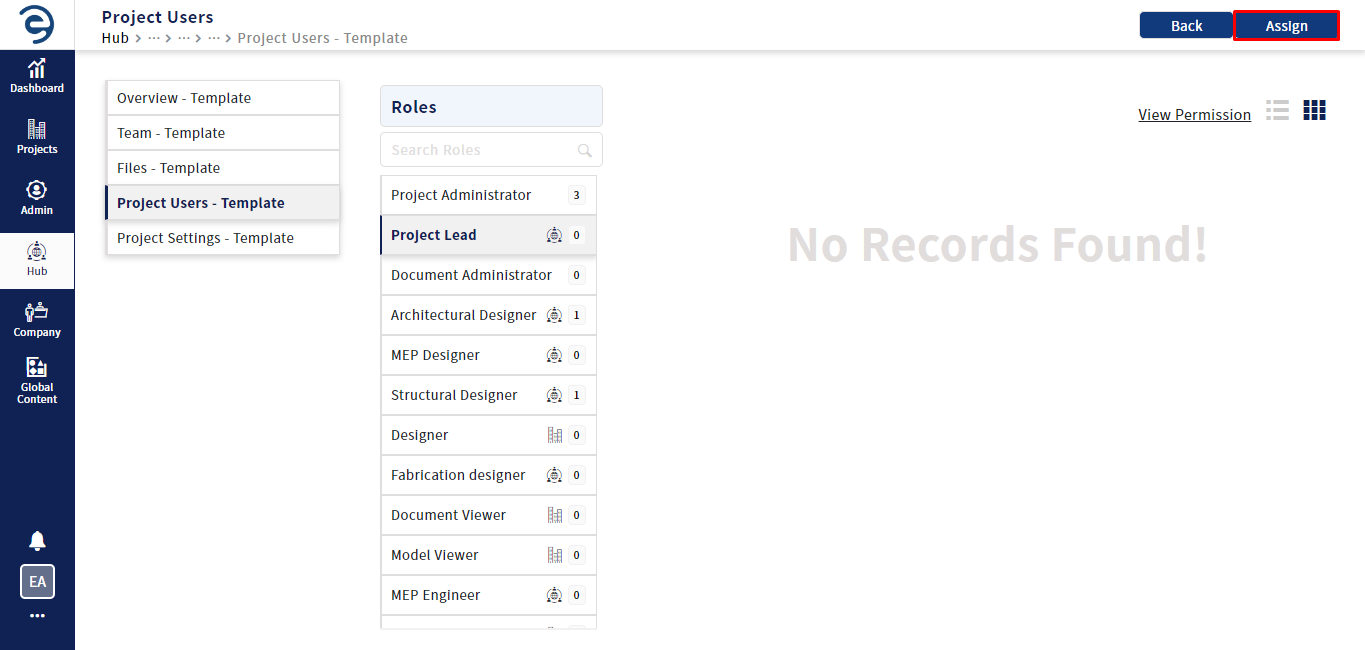
Assigning User into the specific role
- Click on the Assign button (on Top Right) and select the desired users who are unmapped users from the respective hub
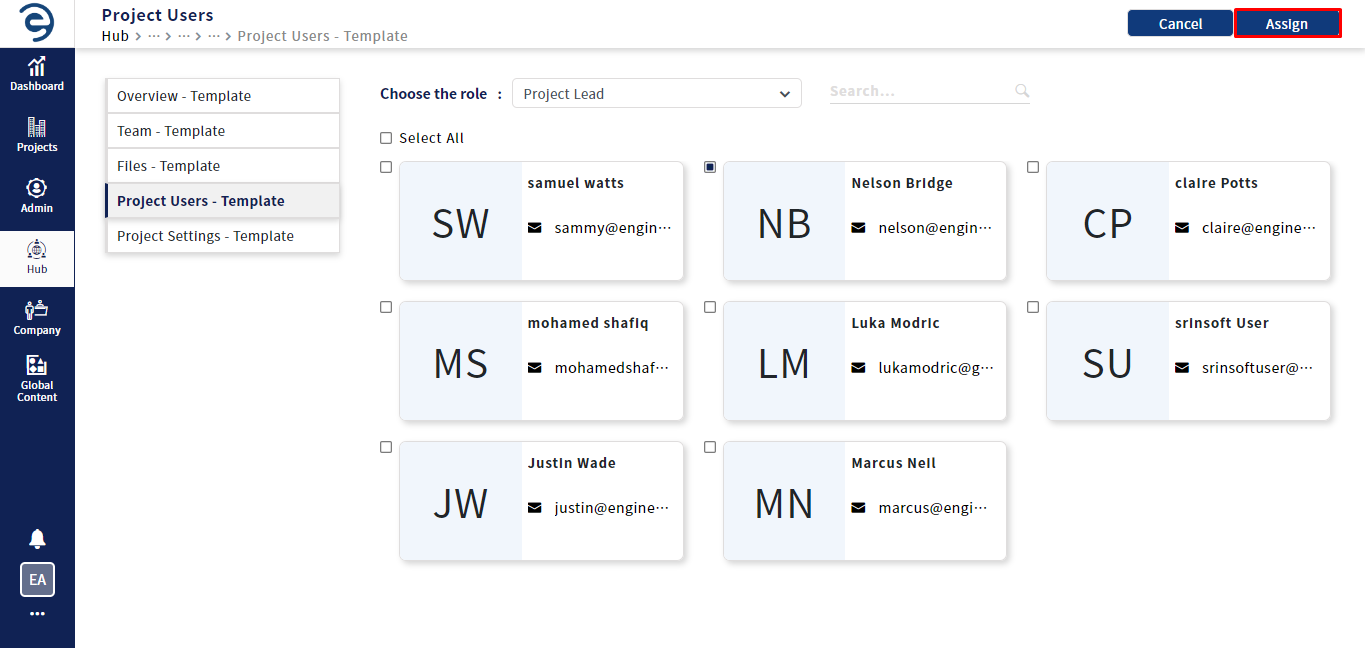
Assigning User into the specific role (Cont.)
- Select the desired users and click on the Assign button to assign those users into the selected role
Assigning User into the specific role (Cont.)
- To remove users from the existing role, click on the Remove Users option
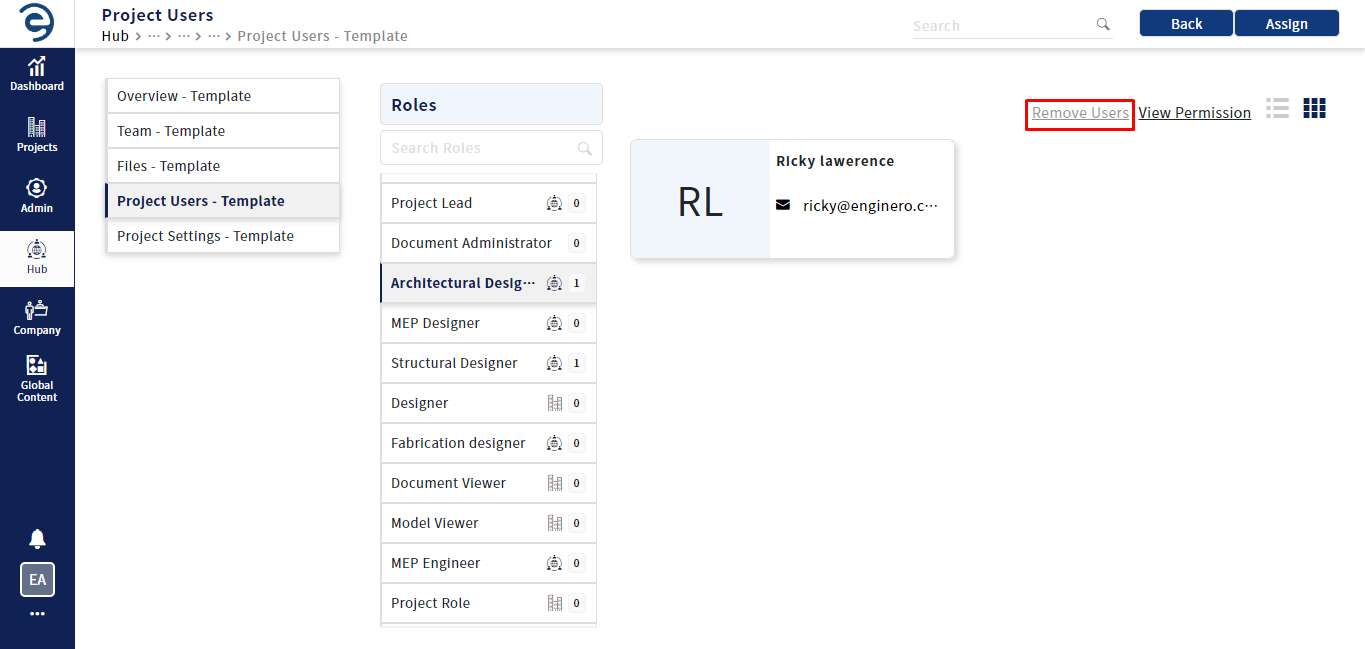
Assigning User into the specific role (Cont.)
- Select the required users from the particular role and click on the Remove button to complete the process
Notes:
- If roles/Users are deleted from the Business Unit and those associated roles/users are mapped with Project template will get removed
Project Settings - Template Menu
Within the Project Admin – Template menu, user can configure the settings for the Project.
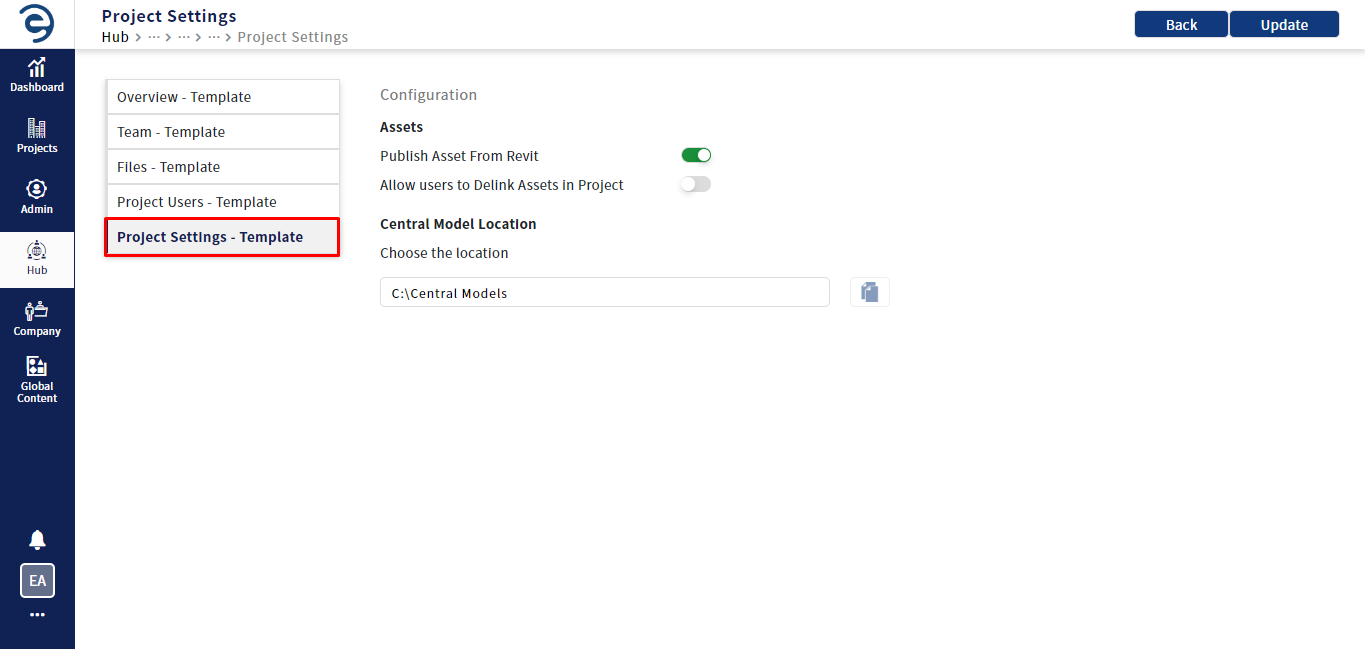
Project settings configuration
- Publish Asset from Revit – If Toggle is enabled, users can publish assets into their project from Revit Application with help of Enginero plugin. If disabled, user cannot be able to publish assets from Revit Application.
- Allow users to Delink Assets in Project – If Toggle is enabled, users can edit the asset in Revit Application with help of Enginero plugin which was imported from Global Content, and republish that asset with a different name as per needs. If disabled, user cannot be to edit assets but can be able to use with asset
- Central Model Location – This is used only for Revit Workshared model. If required, user should define the preferred location path in which the path will teams work with collaborative.
- Automatically disabled the central model location path when the model gets published in either Project or its associated Teams
- To enable the central model location path, the published model should get removed/deleted from the Project and its associated Teams
Once changes are updated in Project Configuration click on the Update button (on Top Right)
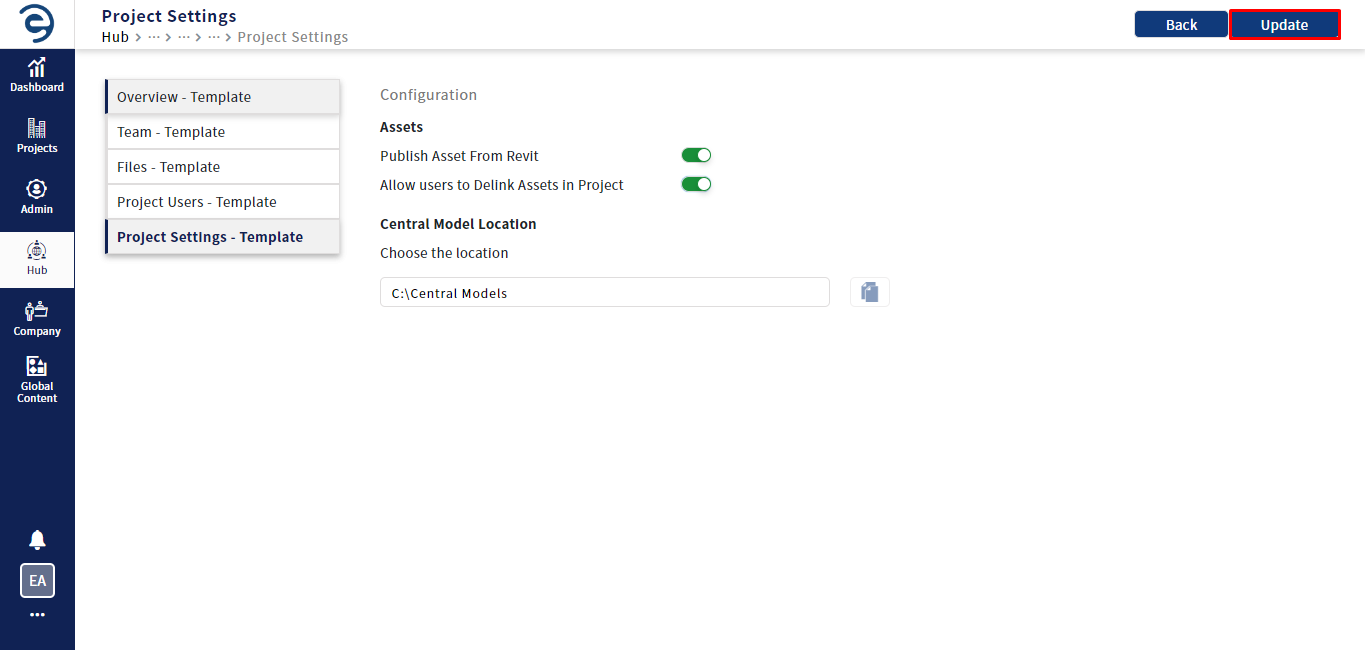
Project settings configuration (Cont.)
Notes:
- By default, the following settings will be pre-defined. Users can customize as per their preference
- Toggle is enabled for “Publish Asset from Revit”
- Toggle is disabled for “Allow users to Delink Assets in Project”
- Central Model Location will be set as a Path: C:\Central Models
- Central Model Location path and Revit Workshared Model path should always be same while integrated with Enginero
Created with the Personal Edition of HelpNDoc: Maximize Your Productivity with HelpNDoc's CHM Help File Creation Features