Publish Assets
The Publish Assets option allows users to publish assets from the active Revit model to an Enginero project. These assets can be organized as per the Revit structured categories within Enginero and can also be loaded into the Revit model when needed.
Follow the steps below to publish the Assets in Enginero Project,
- Click on the Upload Assets option located under the Enginero tab in the ribbon panel after the model is loaded in Revit

Enginero Plugin Ribbon Panel
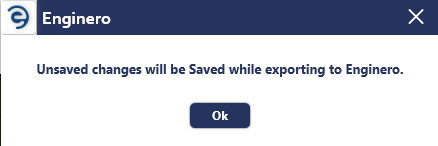
- After clicking the Publish Assets option, Enginero displays a pop-up, indicating that the models will be saved during the export process. Click Ok to proceed
Publish Assets
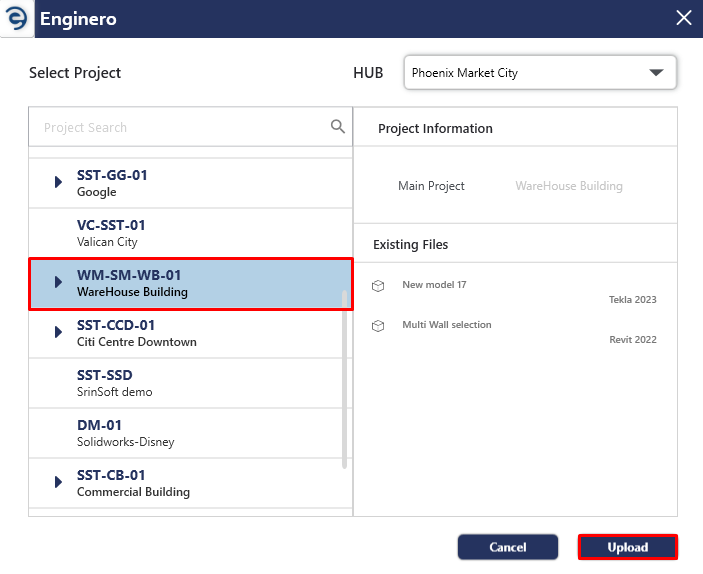
- Choose the required Hub from the drop down and select the Project to which Assets should be uploaded. Click on the Upload button to initiate the publishing process
Publish Assets (Cont.)
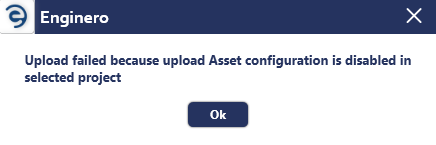
- A pop-up will be displayed after clicking on the Upload button if the Publish Asset Configuration is disabled in the respective project settings. That configuration must be enabled while publishing assets from Revit
Publish Assets (Cont.)
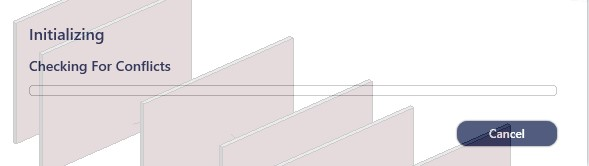
- Enginero initiate the conflicts checker before publishing
Publish Assets (Cont.)
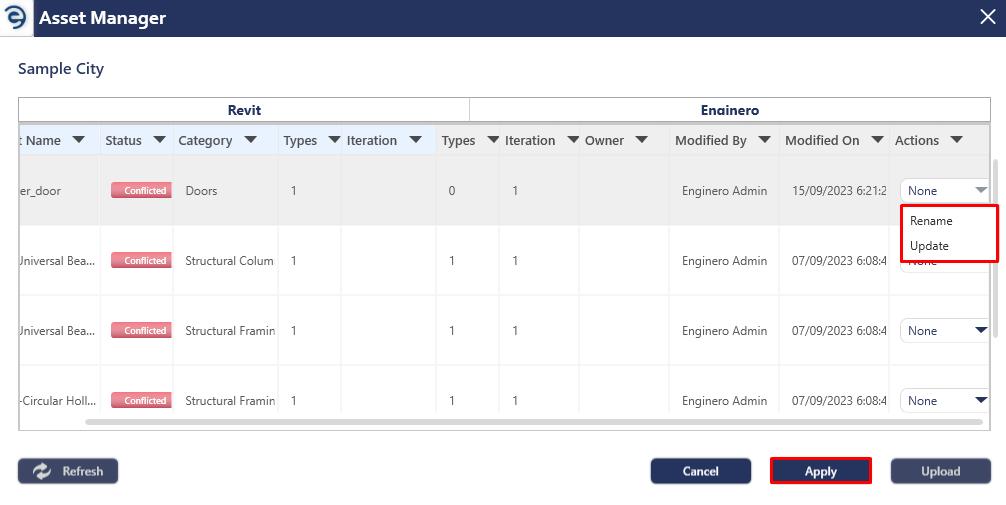
- If conflicts occur, the Asset Manager window will appear, displaying conflicted assets with the following statuses.
Publish Assets (Cont.)
- Conflicted - This status appears during the initial publish of assets when assets in the Revit model have the same name as those in the Enginero project. To proceed with the upload process, users must take one of the following actions,
- Rename - By selecting the Rename action, users can provide the new name for the asset, creating a new asset in the Enginero project
- Update - By selecting the Update action, conflicted assets in the active Revit model are replaced with the assets in the Enginero project
- Added- This status appears after renaming an asset that previously had a conflicted status.
- Updated - This status appears after updating an asset that previously had a conflicted status.
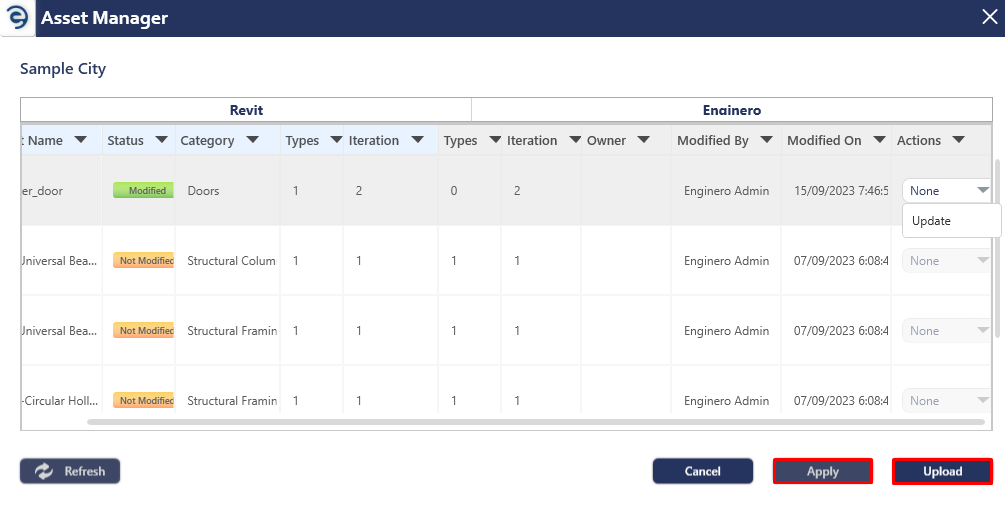
- Modified - This status appears when assets in the active Revit model has been modified. Users can proceed with the upload process by taking the following actions,
- None - It is a default action, modified assets in the revit model are uploaded as iteration into the Enginero project
- Update - By selecting the Update action, Modified assets in the active Revit model are replaced with the assets in the Enginero project
- Not Modified - This status appears If an asset from the Revit model has not been modified and remains the same as the one presented in the Enginero project.
- Out Dated - This status appears if an asset from the Revit model is outdated as compared to the asset in the Enginero project. This typically occurs when multiple users work with the same asset
- Click on the Apply button once the specific action is performed and click the Upload button to continue the upload process
Publish Assets (Cont.)
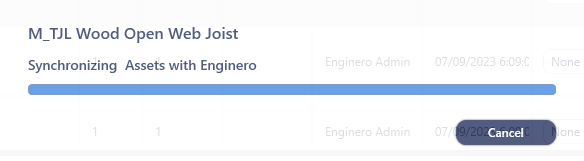
- If does not occur any conflicts, the assets start synchronizing with Enginero
Publish Assets (Cont.)
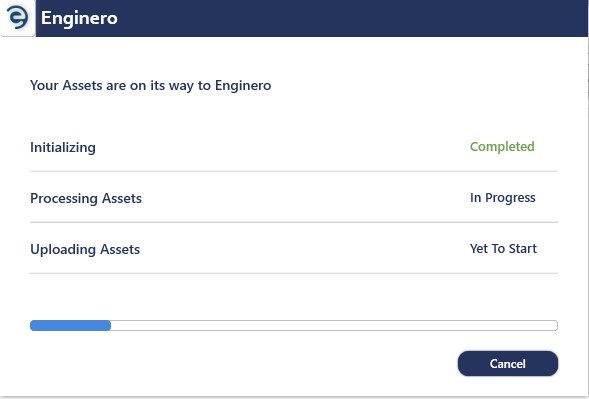
- After synchronization, the uploading of assets will be initiated
Publish Assets (Cont.)
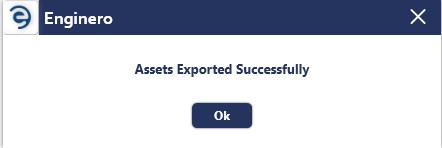
- After the model assets are published, an acknowledgement message will be displayed. Click the Ok to complete
Publish Assets (Cont.)
Created with the Personal Edition of HelpNDoc: Easily create Web Help sites