3D Markups
3D Markups module enables users to create annotations, comments and notes as a markup on the model, facilitating communication of changes and improvements. Users can create a markup using various tools such as Free Draw, Box shape, Text box, Cloud Draw, and Measurement. Follow the below steps to create a 3D markup,
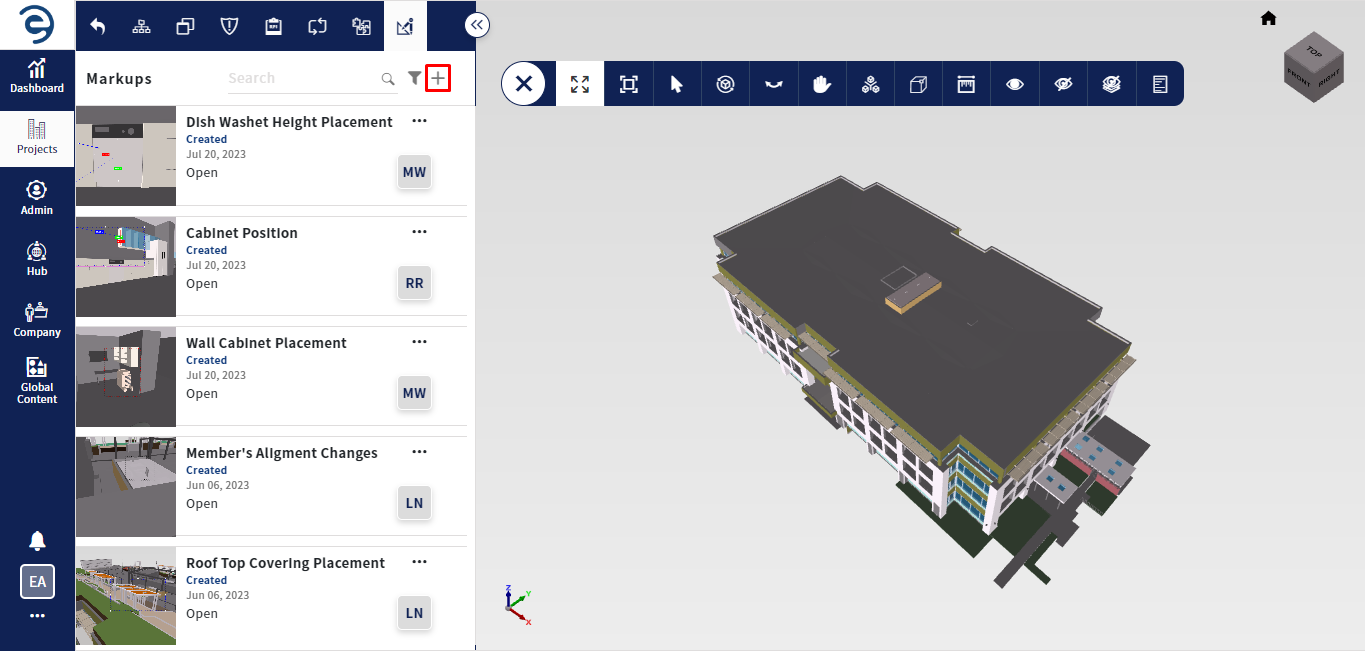
- Once the models are loaded in the viewer, Click on the Markup tab to access all markups corresponding to models

3D Markups Tab
- To create a markup on the 3D model, click on the Plus icon to access the markup tools for creation
3D Markups Tab (Cont.)
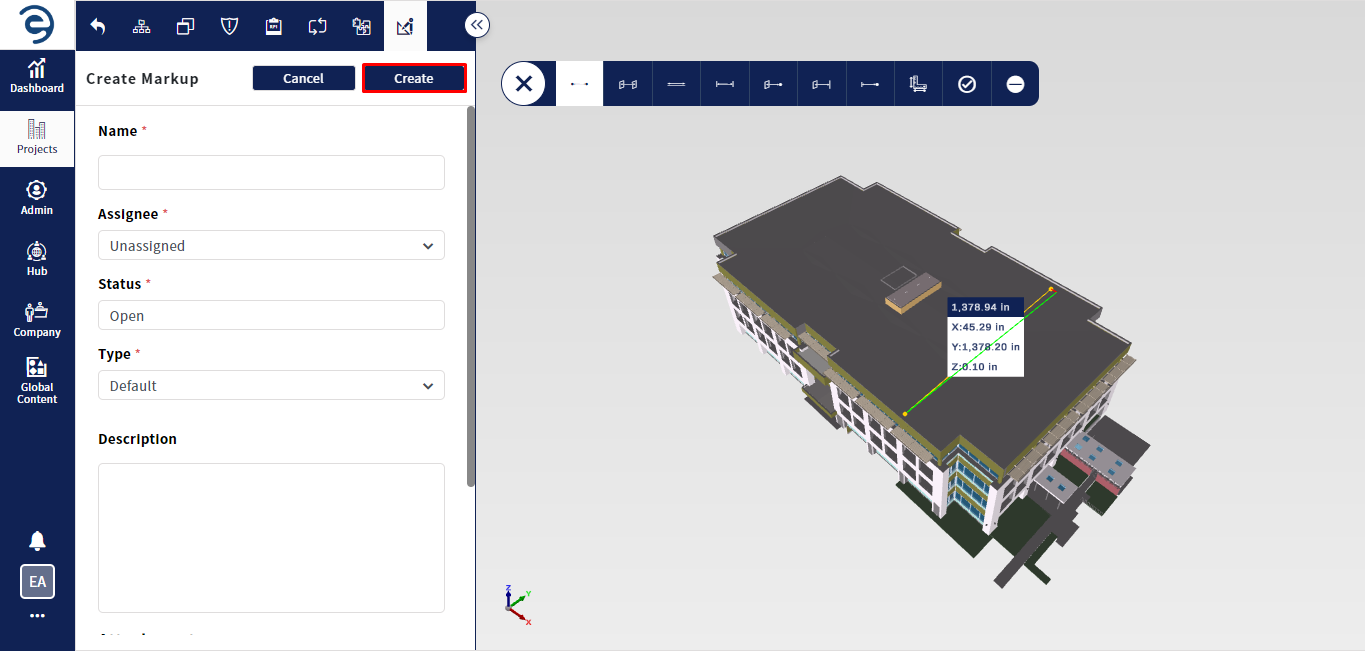
- Add necessary annotations using markup tools available in the toolbar and click on the Create button once entered mandatory Fields which will be marked with “ *”
3D Markups Tab (Cont.)
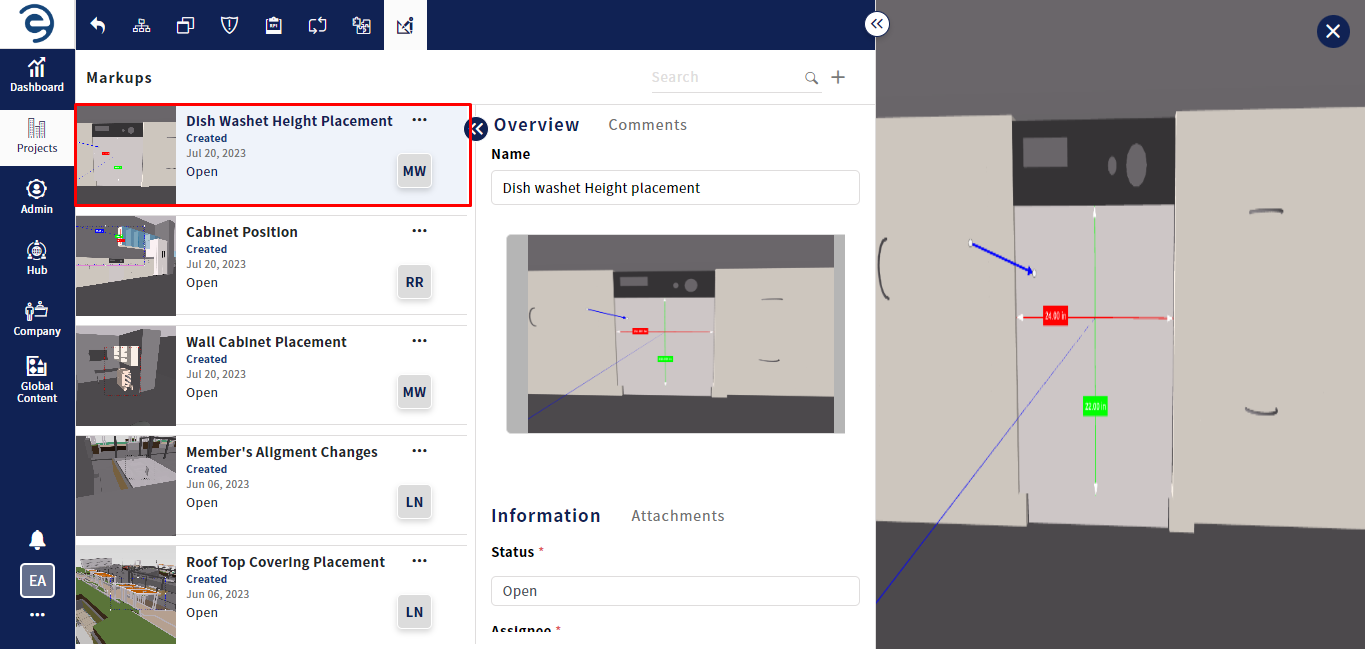
- Click on the Markup to view the details about markup details, which has been divided into various sections such as Overview and Comments
3D Markups Tab (Cont.)
- Overview - Display the general informations and can add reference documents through attachments option
- Comments - Display the user comments about respective markup
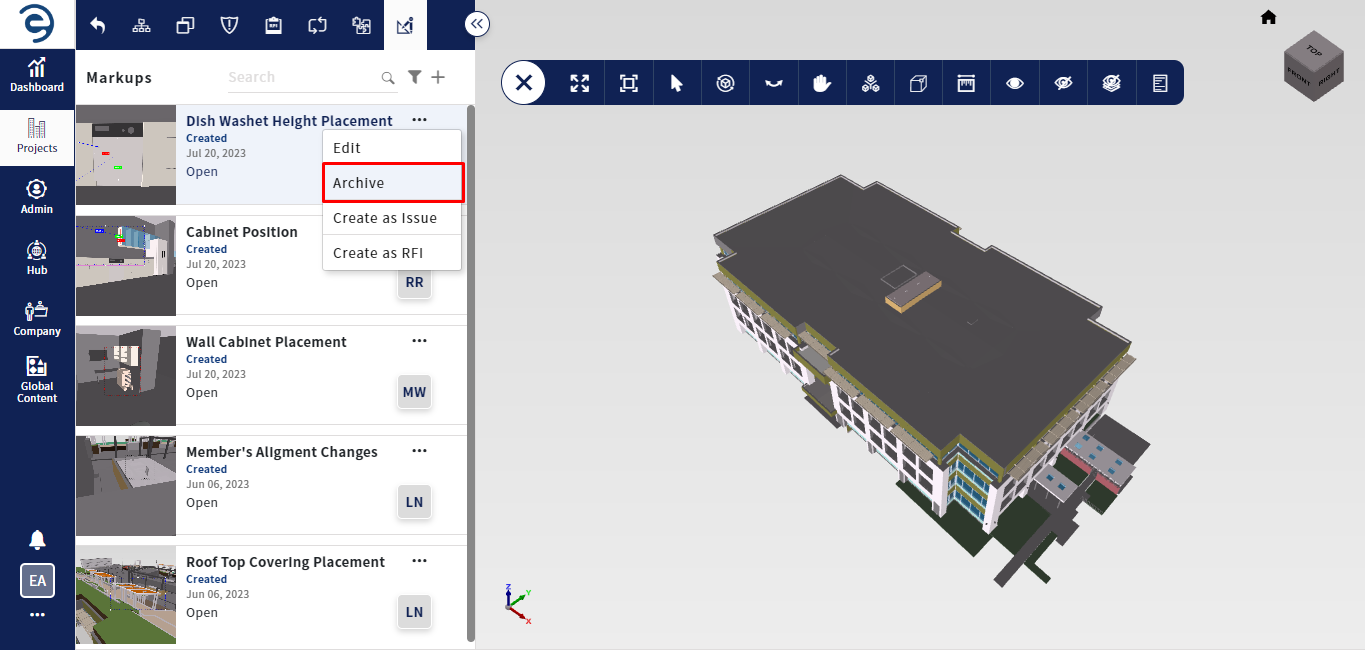
- To edit the existing markup, click the Ellipses icon in the respective markup and select on the Edit option to update the markup details as well as update annotations drawn on the model

3D Markups Tab (Cont.)
- To archive the existing markup, click the Ellipses icon in the respective markup and select the Archive option
3D Markups Tab (Cont.)
- Click on the Filter icon to quickly find or narrow down markups based on specific criteria such as created users, Assignee, Status, Type, and Created Date

3D Markups Tab (Cont.)
- Through the Search bar, the User can locate a desired markup

3D Markups Tab (Cont.)
Created with the Personal Edition of HelpNDoc: Full-featured Kindle eBooks generator