Upload/Publish Model
The Upload Model option enables users to upload Revit models along with their associated assets to Enginero projects. To initiate this process, users must either create a new model or open an existing one in advance. After successfully uploading the new model to the Enginero project, the 'Upload' option transitions to the 'Publish' option.
By selecting 'Publish', users can subsequently update their Revit models within Enginero. The process of publishing models remains consistent, whether they are Workshared or non-Workshared. However, there are differences during the initial upload phase."
Upload Non-Workshared model
Follow the below steps to upload the non-Workshared Revit model,
- Click the Upload Model option located under the Enginero tab from ribbon panel

Upload Non-Workshared model
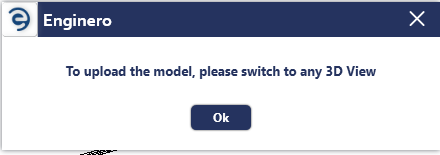
- If the active view is not a 3D view before uploading, the user will receive a pop-up notification. To continue, simply close the pop-up window by clicking the OK button, then select a 3D view as the active view in Revit and click the Upload Model option again.
Upload Non-Workshared model (Cont.)
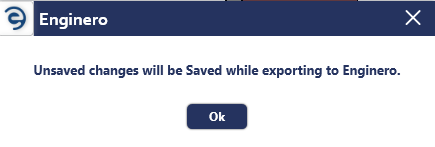
- Enginero displays a pop-up indicating that the model will be saved during the upload process. Click the OK button to continue
Upload Non-Workshared model (Cont.)
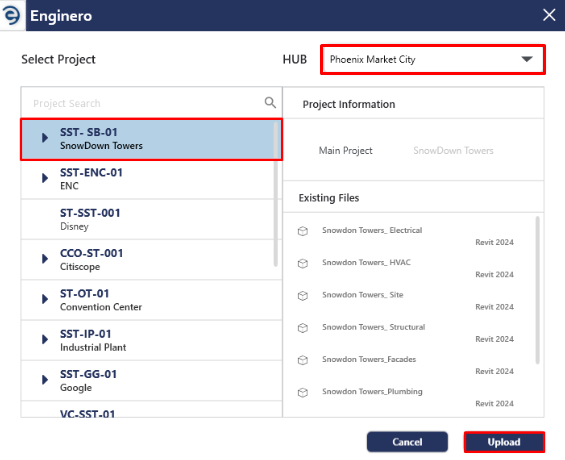
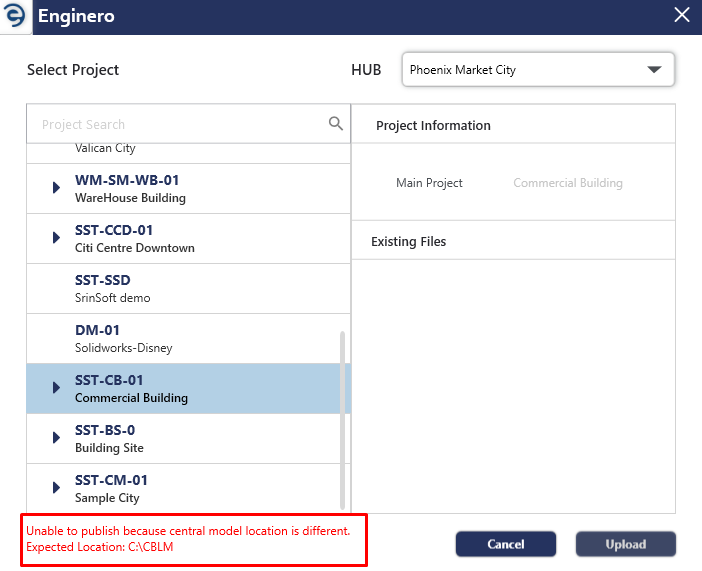
- Choose the required Hub from the dropdown and select the preferred Project or Teams for which models must be Uploaded. Click on the Upload button to initiate the process
Upload Non-Workshared model (Cont.)
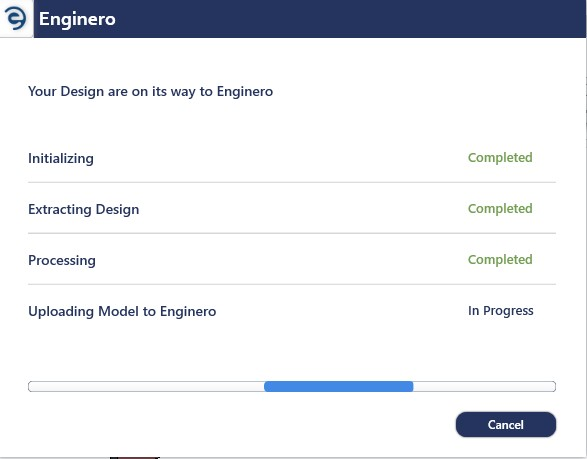
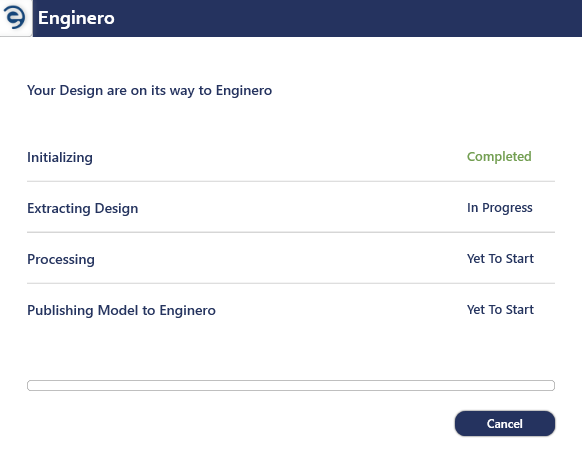
- Now, uploading a model to the Enginero project has been started
Upload Non-Workshared model (Cont.)
- After uploading the model, an acknowledgement message will be displayed
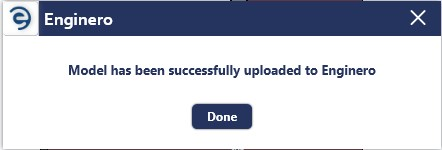
Upload Non-Workshared model (Cont.)
Upload Workshared model
Follow the below steps to upload the non-Workshared Revit model,
- Click the Upload Model option located under the Enginero tab from ribbon panel

Upload Workshared model
- Repeat the same procedure of non-Workshared model to initiate the Model Publish process
- If the model hasn't been saved to the configured central model location for the respective project, the user will receive a warning message. To prevent this warning, user must save the model in the specified path defined within the respective Enginero project
Upload Workshared model (Cont.)
- Now, uploading a model to the Enginero project has been started

Upload Workshared model (Cont.)
- Saving the model details to the project has been started
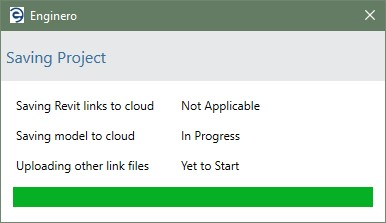
Upload Workshared model (Cont.)
- After uploading the model, an acknowledgement message will be displayed. To continue with the uploaded model, users should close the active model and open it from Enginero to begin collaboration
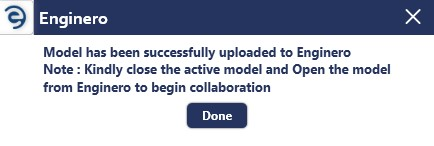
Upload Workshared model (Cont.)
Notes:
- Users who are working with Workshared model must have access to the central model location path that was described in the respective project settings by their project admins
Publish Revit model
Follow the below steps to publish the Revit model,
- Click the Publish Model option located under the Enginero tab from ribbon panel

Publish Revit Model
- Now, the model publishing process has been started
Publish Revit Model (Cont.)
- For the Workshared model, the model start getting synchronized with the Enginero project
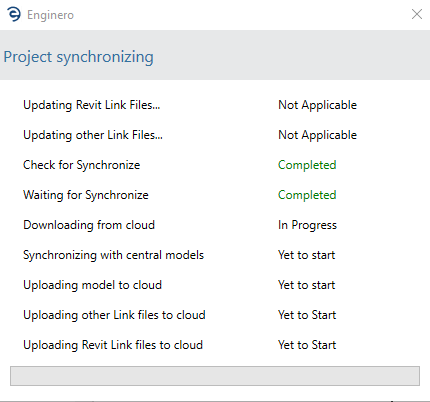
Publish Revit Model (Cont.)
- After publishing the model, an acknowledgement message will be displayed

Publish Revit Model (Cont.)
- If multiple users attempt to publish the same workshared model simultaneously into the Enginero, the user who started later, based on the FIFO (First In, First Out) method will receive a pop-up notification, indicating that another user is already publishing

Publish Revit Model (Cont.)
Best Practices for Workshared model:
- Minimum internet bandwidth – Download 100 Mbps, Upload 50 Mbps.
- If users have an incompatible graphics card on their machine, kindly uncheck hardware acceleration under the Hardware tab of the Options in Revit.
- If users sync their Workshared model in Revit using Revit sync option and that model in model viewer shows with Outdated icon until the model publish. In the Model Viewer, user can load the model with Outdated icon
- If a Revit session has been idle for more than an hour, kindly restart Revit and reopen models.
- Always claim ownership using Right Click -> Make Elements Editable when working on specific Element
- Save at regular intervals to avoid design loss. It’s advisable to make use of the AutoSave feature.
- While working with larger models and does not have any task related to the link files, then Kindly upload it and resuming work as it would help reduce model regeneration time.
Created with the Personal Edition of HelpNDoc: Keep Your PDFs Safe from Unauthorized Access with These Security Measures